Fuji XT-2 first images

My Fuji XT-2 arrived a week or so ago and I really need to get out and try it out.

So when an opportunity came along for a trip up to the Yorkshire Dales with my good friend Adrian of McFade photography I decided it was a good opportunity to take it out for its first airing.

We planned the day as a trip up to visit some iconic landscape areas in the Yorkshire Dales above Settle and then headed over towards Ribblehead. I had been wanting to go back to get some more images from around Ribblehead and impressive viaduct, in that location.

The day started out as a dry one,  but then we had rain showers and then sunshine throughout the afternoon, which I hoped might give some interesting skies but perhaps not always the best way to try out your new camera.

However it was only showers so a quick cover up  with a shower cap when it was raining at its most persistent worked well to keep the Fuji XT-2 and its lens  dry.

So here are some of the images from my new Fuji XT-2
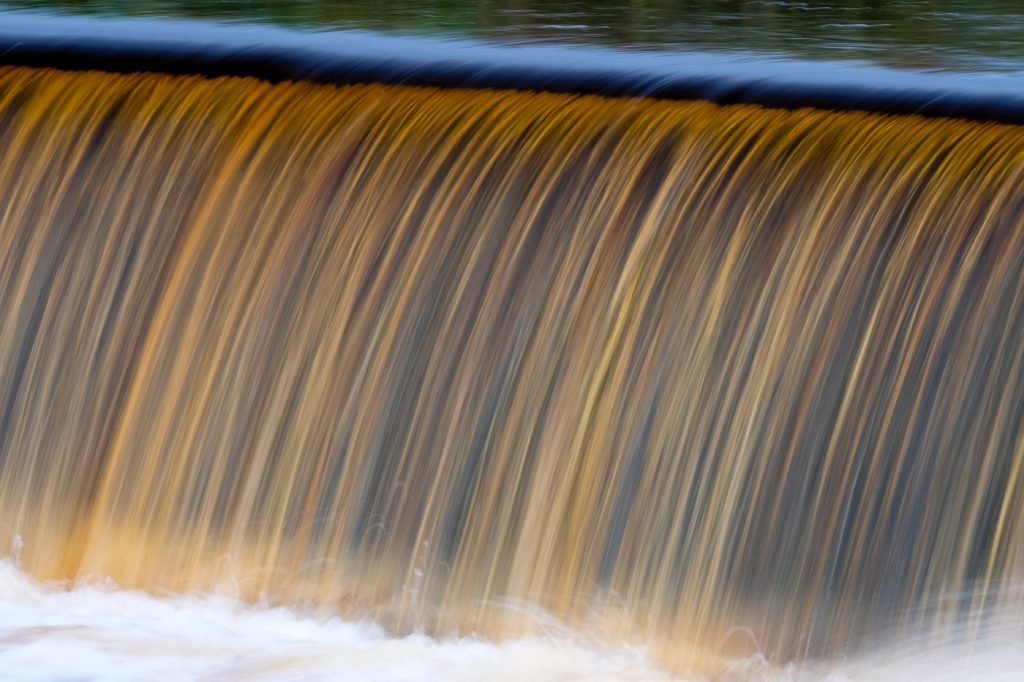
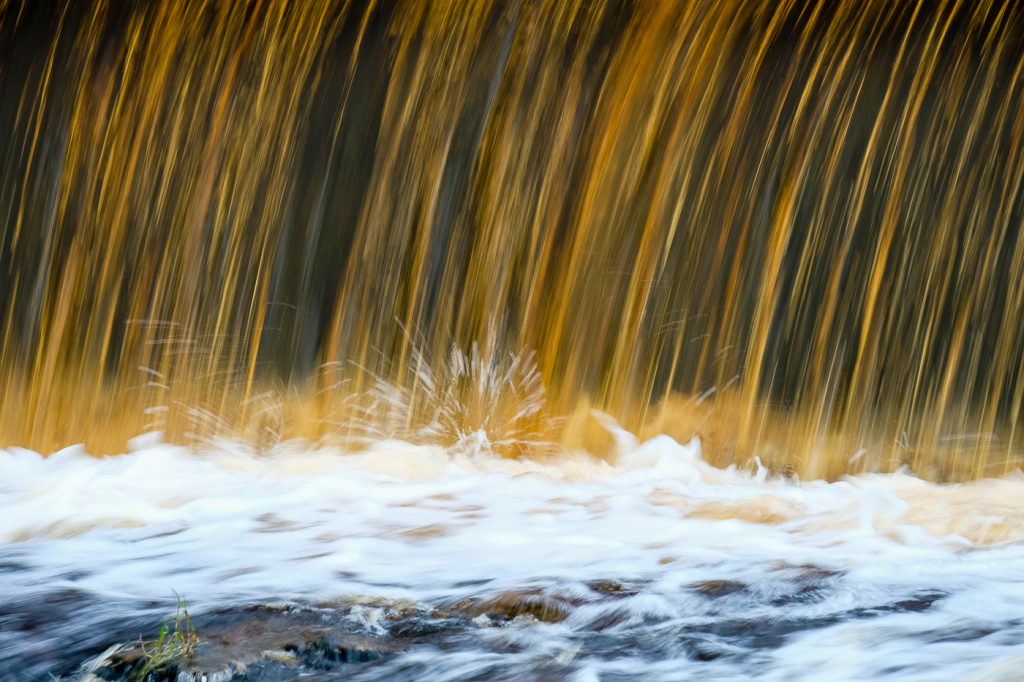
Landscape Photography - Landscape Photographer - colour image of the line of cascading water the colour of Peat flowing down the weir and beyond
Richard Spurdens Photography – Water the colour of Peat III
Landscape Photography - Landscape Photographer - water the colour of Peat I
Richard Spurdens Photography – Water the colour of Peat I
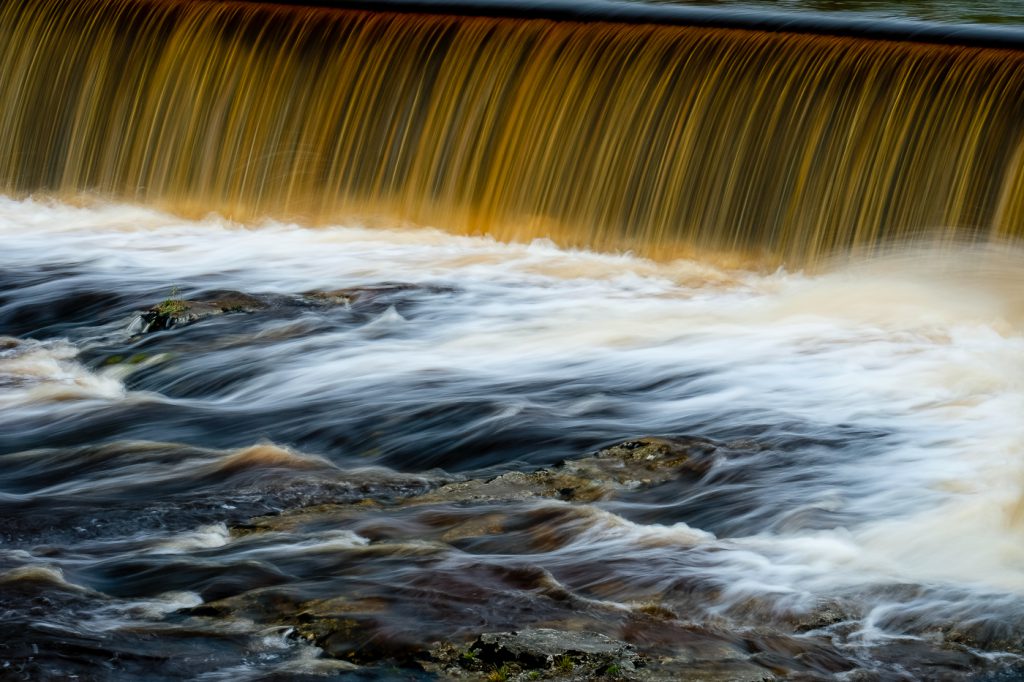
Landscape Photography - Landscape Photographer - colour image of the line of cascading water the colour of Peat flowing down the weir and beyond
Richard Spurdens Photography – Water the colour of Peat II
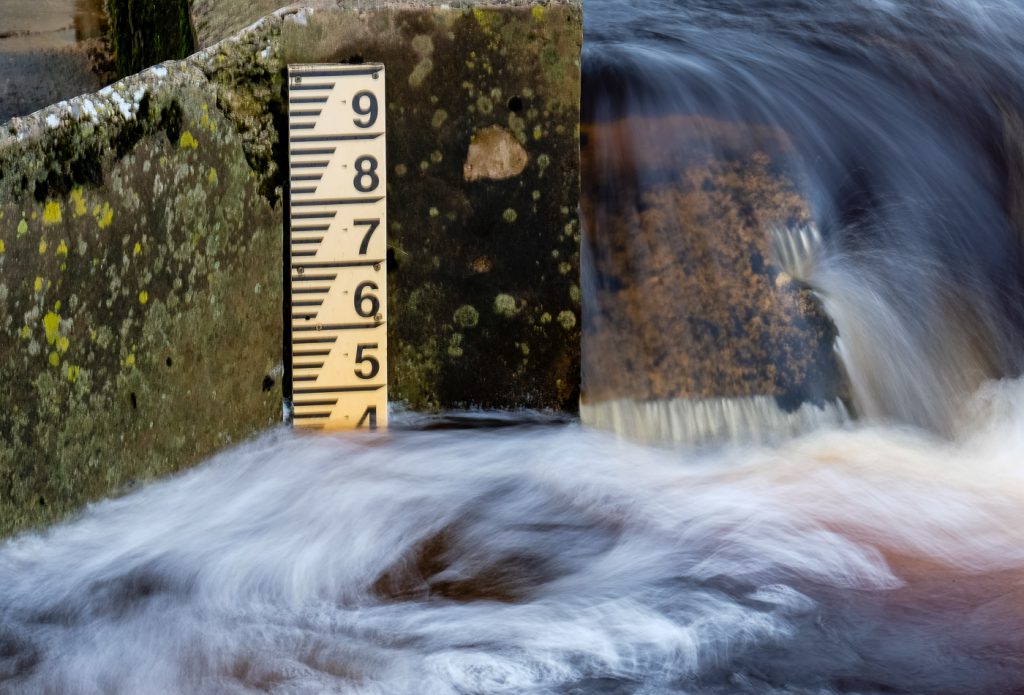
Landscape Photography - Landscape Photographer - colour image of the peat coloured water cascading past the river height marker
Richard Spurdens Photography – Water level indicator

Using a slow shutter speed for these really help to bring out the water movement and peaty colours.

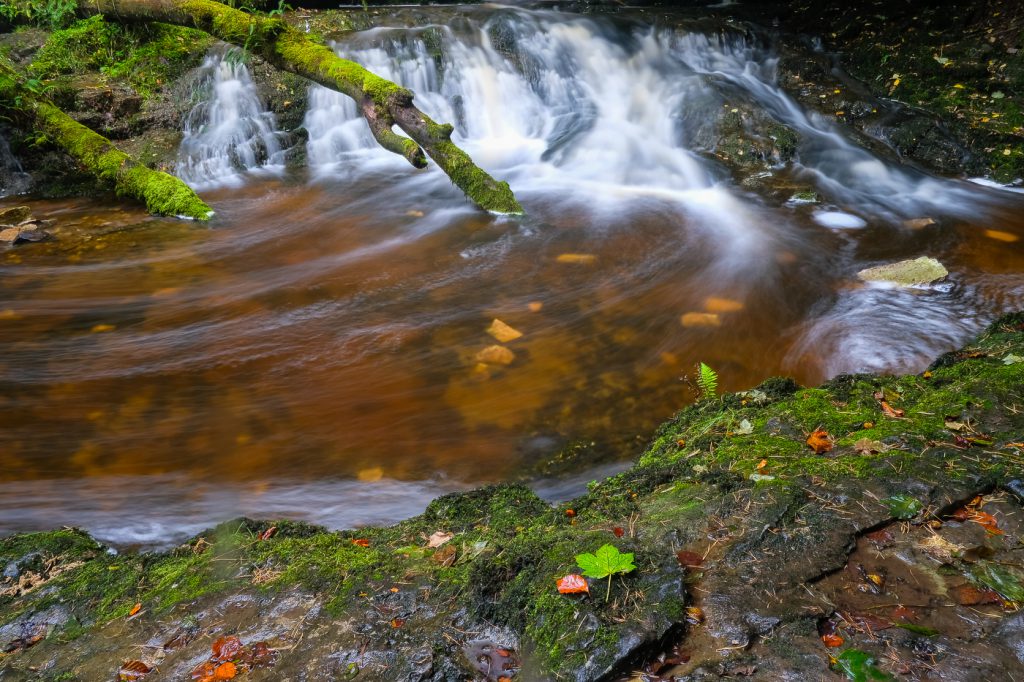
A short drive and a longer walk downhill to a well hidden water fall was worth the walk despite the walk back been in the rain.
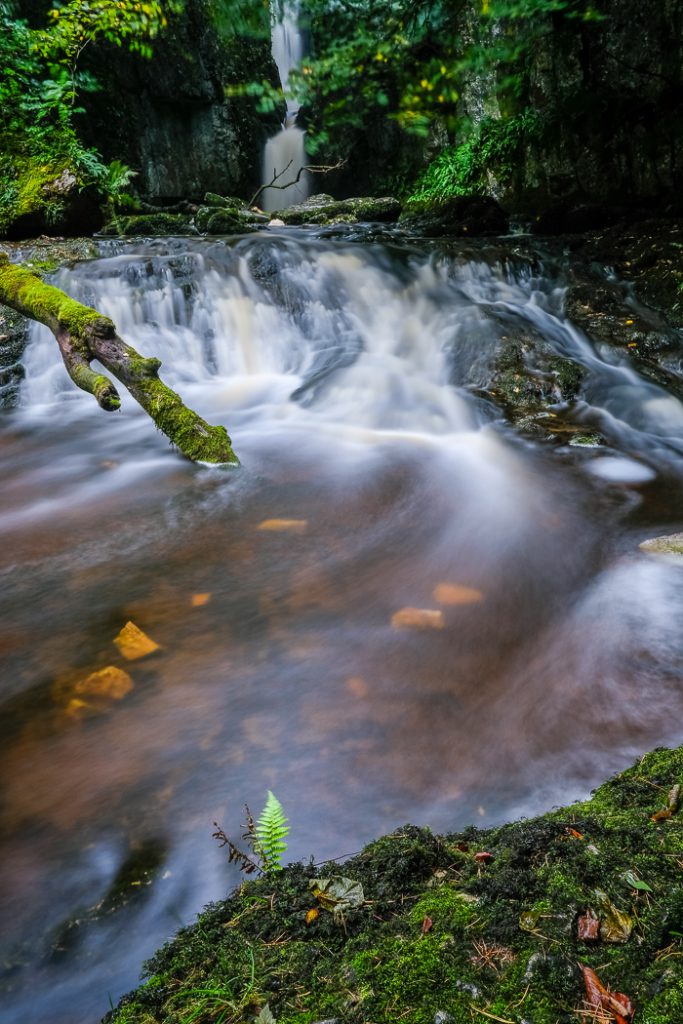
Landscape Photography - Landscape Photographer -a single fern I
Richard Spurdens Photography – landscape photographer – A single fern
Landscape Photography - Landscape Photographer - colour image of a few fallen leaves againts the flow of the stream of peat colours - the start of autumn
Richard Spurdens Photography – The start of autumn

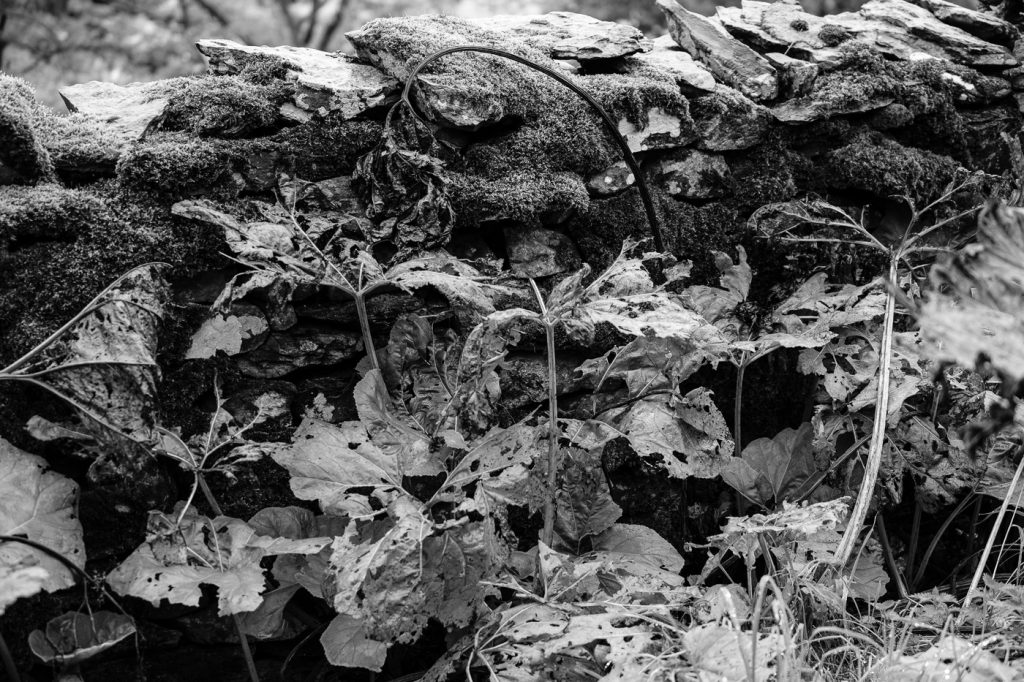
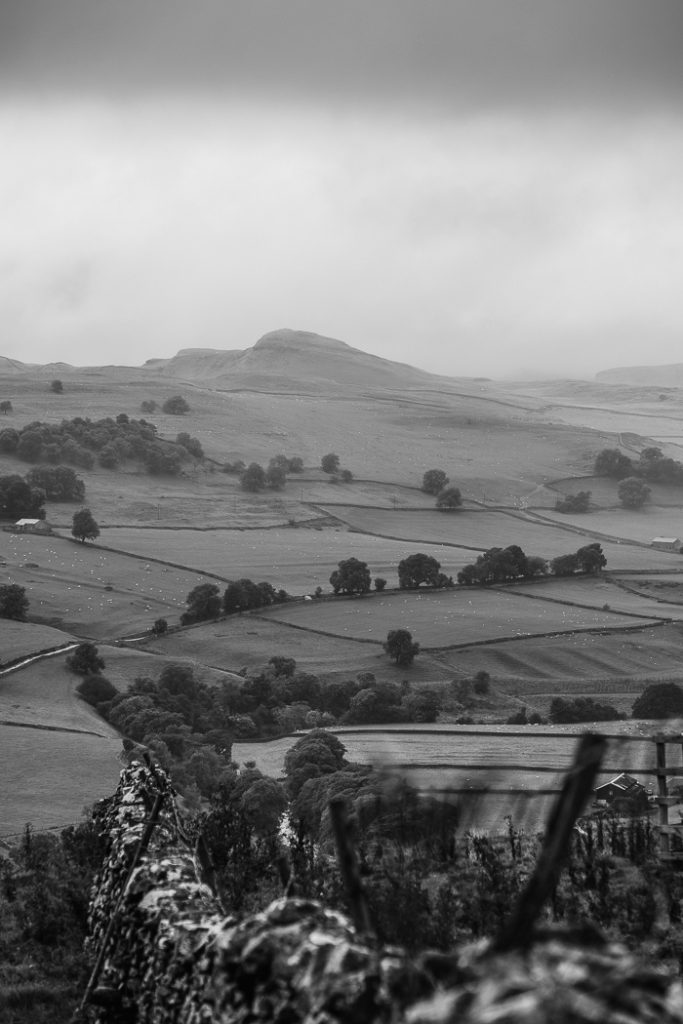
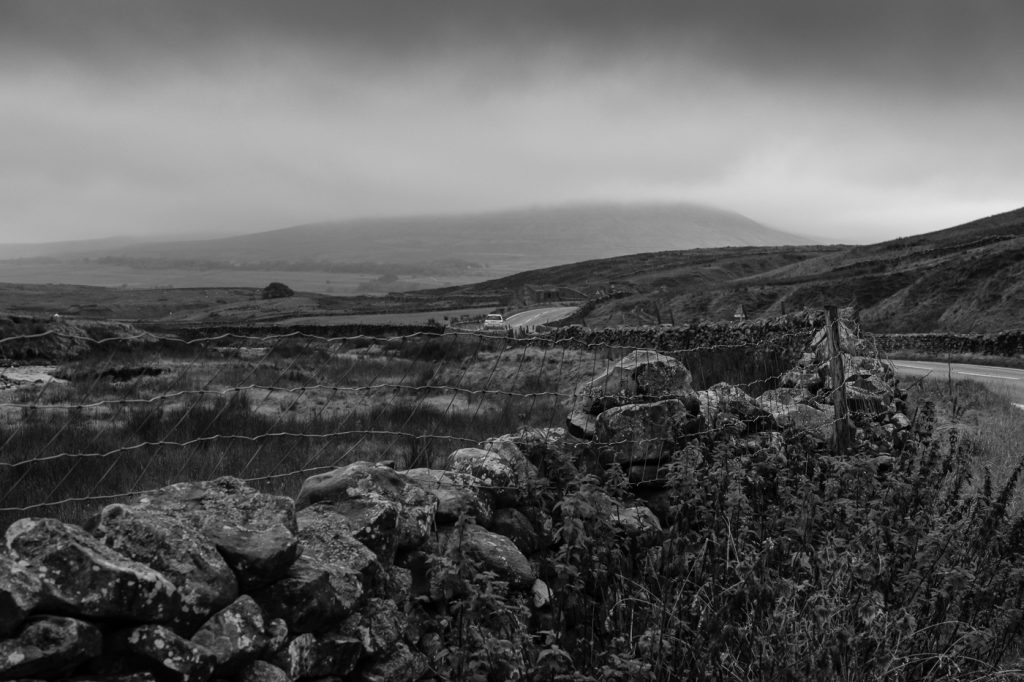
Driving across to ribblehead gave a few opportunites to stop and get some images with the dry stone walls. Using the new Acros film simulation on the XT-2.
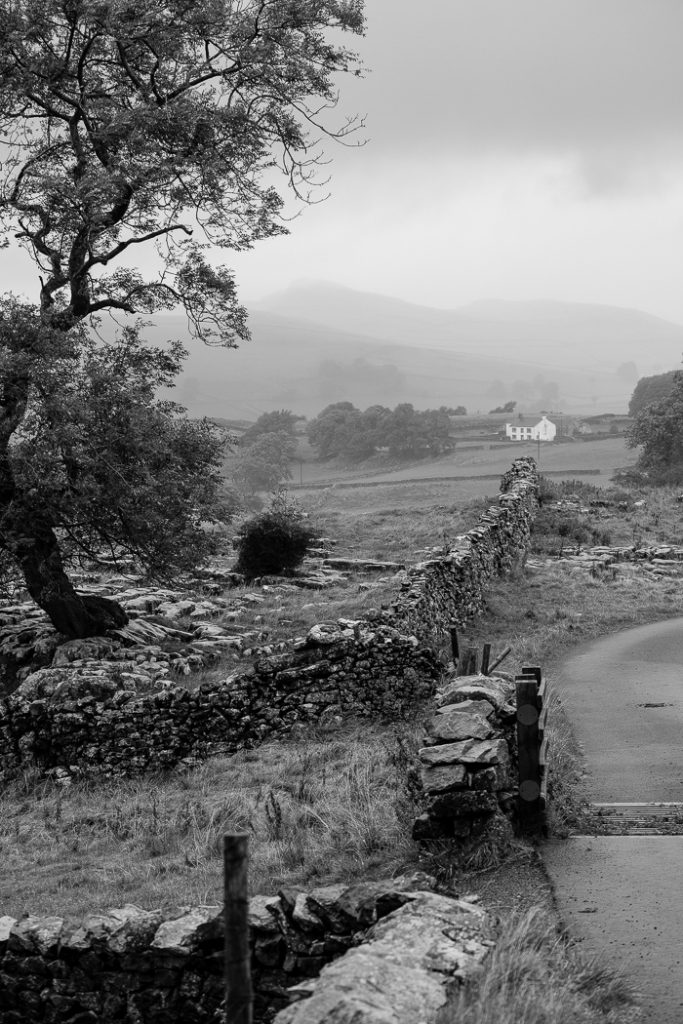
Landscape Photography - Landscape Photographer - monochrome view to the -white-house
Richard Spurdens Photography – landscape photography – Fuji XT-2, Fuji XF 50-140 -60m,1/60s @ f4.0
Landscape Photography - Landscape Photographer - dry stone walls lines plus a car
Richard Spurdens Photography – Fuji XT-2, Fuji XF 50-140 -50m1/60s @ f8.0
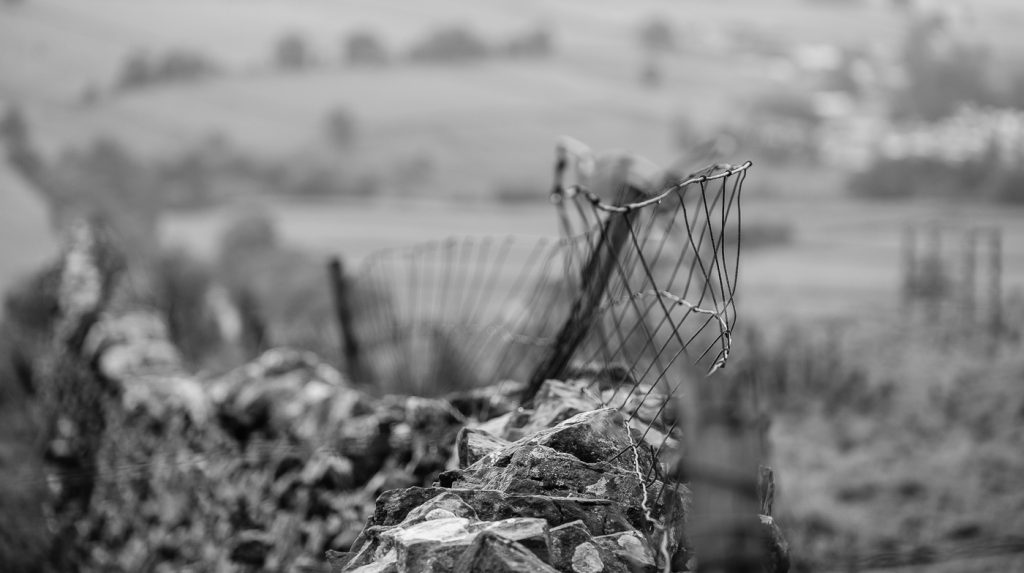
Landscape Photography - Landscape Photographer - monochrome image of wire fence on top of a dry stone wall, using a shallow depth of field
Richard Spurdens Photography – Fuji XT-2, Fuji XF 50-140 -100m1/60s @ f2.8
Landscape Photography - Landscape Photographer - monochrome image of large leaves starting to die back as autume approaches
Richard Spurdens Photography – Fuji XT-2, Fuji XF 50-140 -50m1/30s @ f3.2

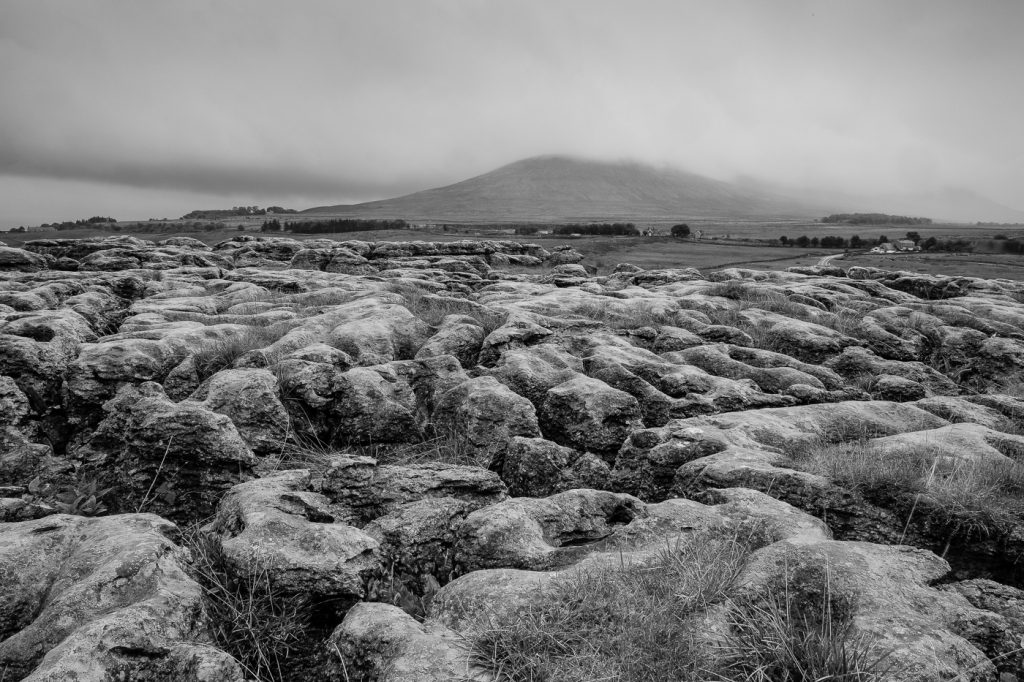
Finally a few images towards the viaduct and across towards Ingleborough with it low clouds as a hat.
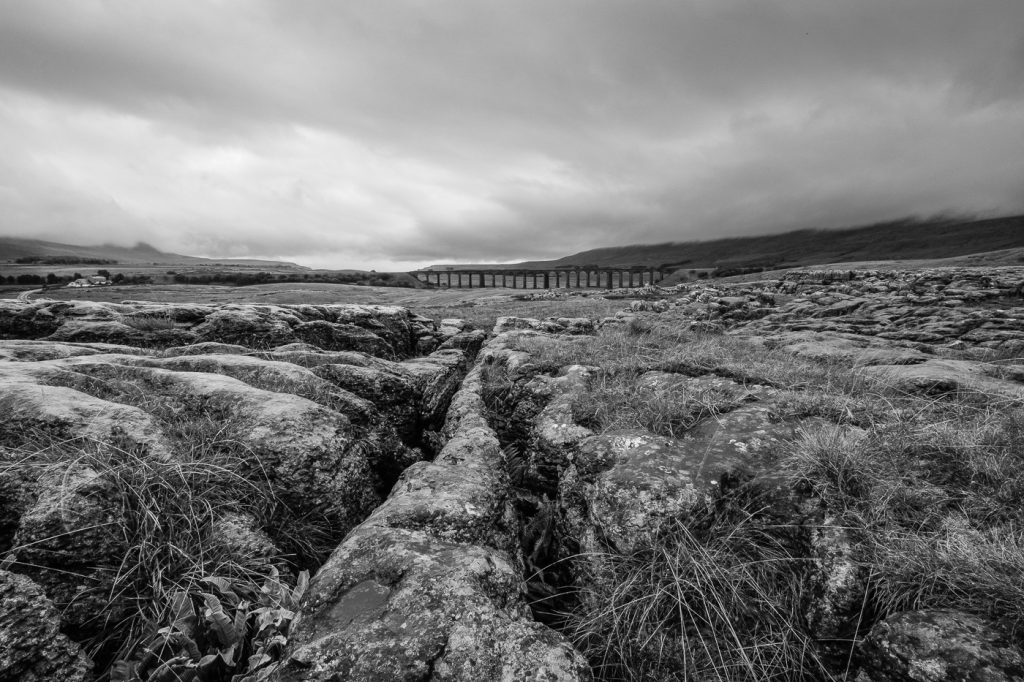
Landscape Photography - Landscape Photographer - monochrome view to the ribblehead viaduct
Richard Spurdens Photography – landscape photography – view to the ribbleheas viaduct – Fuji XT-2, Touit 12mm 0.5s @ f 20.0
Landscape Photography - Landscape Photographer - monochrome image of the limestone pavement in the foreground with the distant hill top shrouded in the clouds
Richard Spurdens Photography – Fuji XT-2, Fuji 18mm f2.0
Landscape Photography - Landscape Photographer -
Richard Spurdens Photography – Fuji XT-2, Fuji XF 50-140 -100m,1/60s @ f4.5

So what were my first impressions on using the new XT-2 ?

There were some really good improvements in the new version especially the increased number of focused points and the little joy stick which enabled you to quickly move the focus point to were you need it. Fuji seem to have listened to there users and made some good improvement in the focusing and easy of which you can move that around, the new film mode is also a gives a good feel to the images too.

I now need to try it out in the studio next.

Save


Bilbao with the Fuji XT-1

We had talked about going to Basque Country in Northern Spain for a number of years, and Bilbao was on my list as a Spanish city I wanted to visit too. We decided to take the plunge and make arrangements to go there for a few days and experience the Basque region.

Now I knew that one of the attractions for me in Bilbao was the Guggenheim Museum for its architectural design both on the outside and inside too. But were there other photographic opportunities as well? With a bit of research on the web I found a good photographic blog from Lizzie Shepherd who had been there in December of last year. Her blog showed that there were quite a few other areas to visit that were worth taking a camera along to.

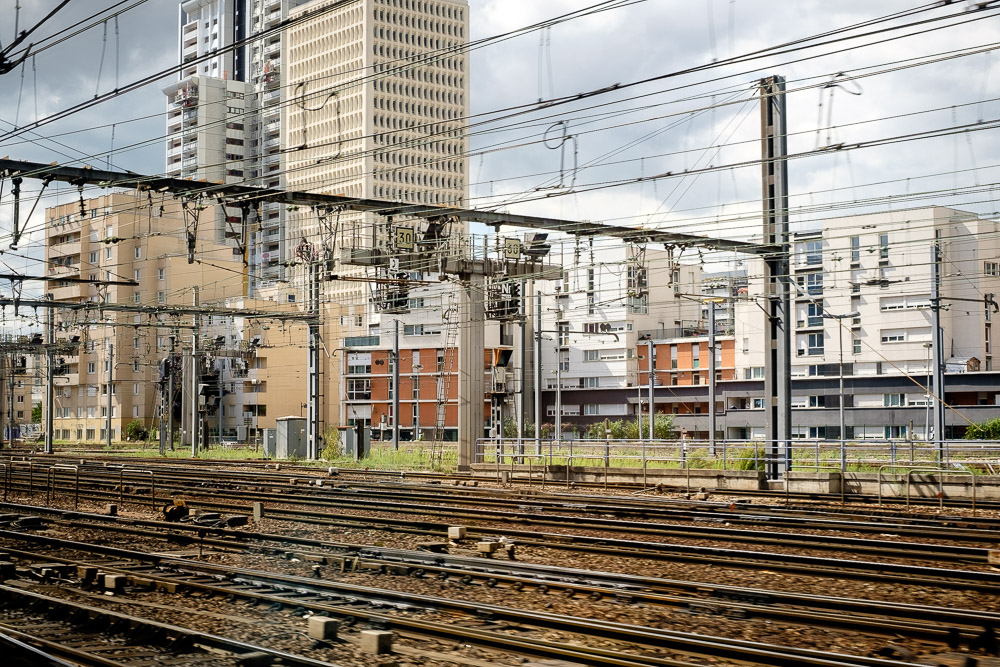
With a few days of research on how best to get there by my wife, we decided to go by train. So at the beginning of this month we boarded a train and headed down to London via the East Coast Mainline; then out from St Pancras by Eurostar to Paris; and across Paris by Metro to Paris Montparnasse. Boarding the modern French TVG Atlantique train, we travelled across France to Hendaye and then a short walk to the tram station and on across the Spanish border to Irun. A night in a hotel in Irun was followed by another local train journey to the city of Bilbao.

travel Photography - travel Photograher - railway lines overhead power lines for the trains and a background of vertical lines from the buildings make this a high and low line image - taken as the train leaves one of the paris stations
Richard Spurdens Photography – High and low Lines

My camera of choice for traveling is now the Fuji system as the XT-1 and the 5 lenses I carry are capable of covering all the images I might want to take. It is also a lot easier on the shoulder when you are out walking all day – that can make a lot of difference. All my Fuji gear fits into a small Bingham shoulder bag so if you are flying it doesn’t give issues getting the bag onto the plane. I had also brought my recent addition to my travel kit the ‘Brian’ – the 3 legged thing, and a range of filters but in the end the only filter I used was the polarizer.

Once we had settled in to the hotel which was situated near the Guggenheim we headed out to explore.

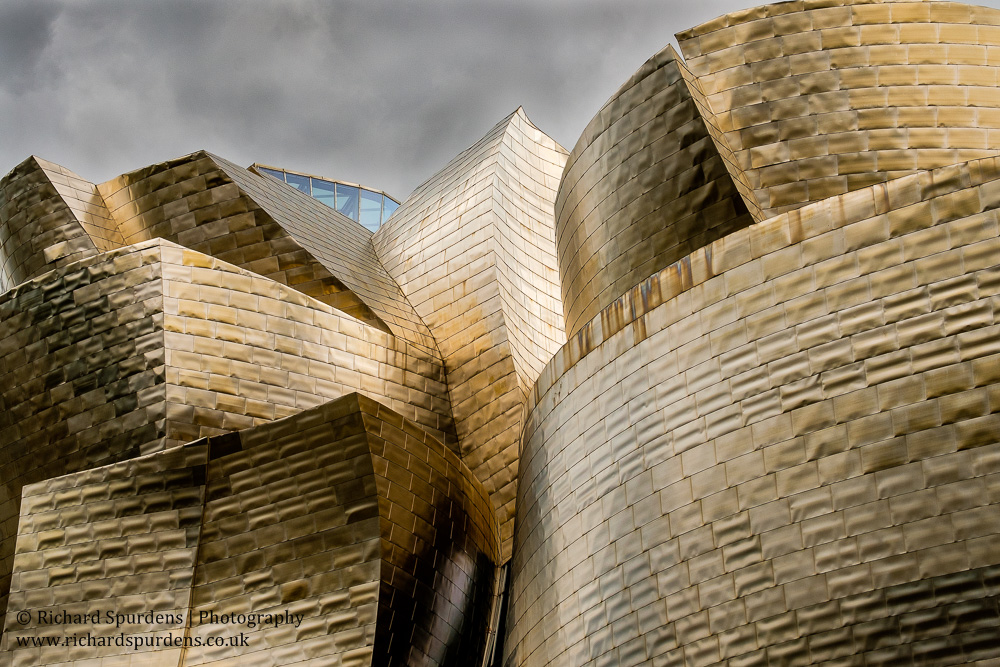
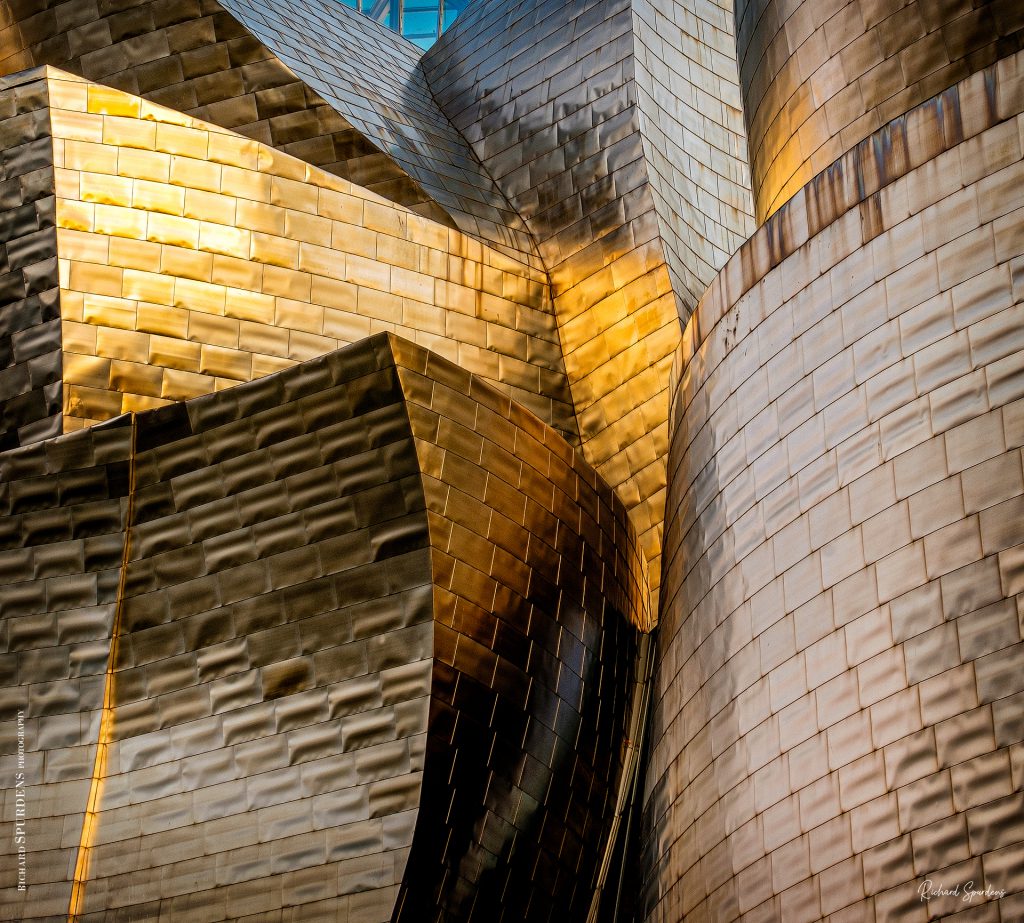
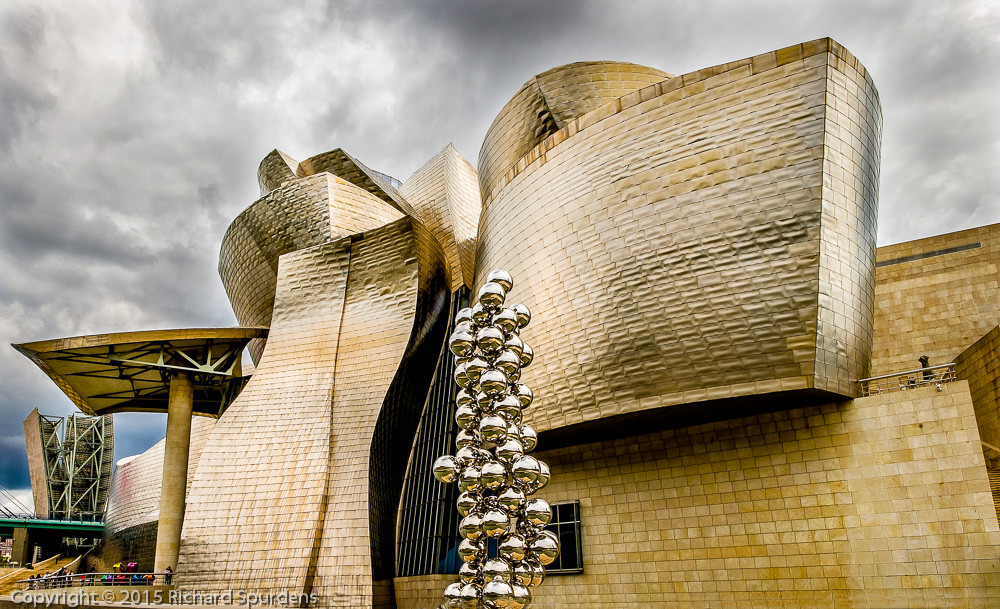
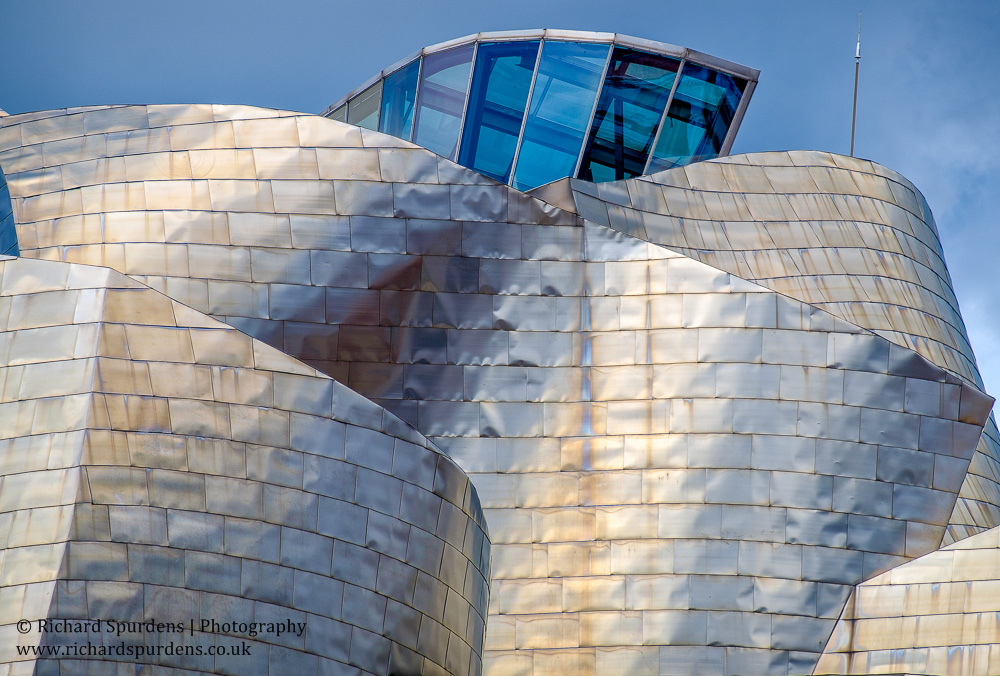
The Guggenheim was just a short walk alone the river Nervión and as you approach it, the distinctiveness of Frank Gehry’s  design comes into view – those curving titanium sculptural and expressionistic curves and lines standing out against a dark sky. Time to bring out the 3 legged thing tripod and the telephoto lens to zoom in and capture those flowing curves and wonderful lines against the dark sky. I was not disappointed with these first images:

Architecture Photography - Architecture Photographer - guggenheim titanium colours
Richard Spurdens Photography – Guggenheim titanium colours XF-55-200 @ 55mm 1/60 sec @ f13
Architecture Photography - Architecture Photograher - the evening light hitting the cladding of the guggenheim Museum bilbao,
Richard Spurdens Photography – Architecture series
Architecture Photography - Architecture Photographer - guggenhiem view II
Richard Spurdens Photography – Guggenhiem view II Touit f2.8 – 1/125 @ f14
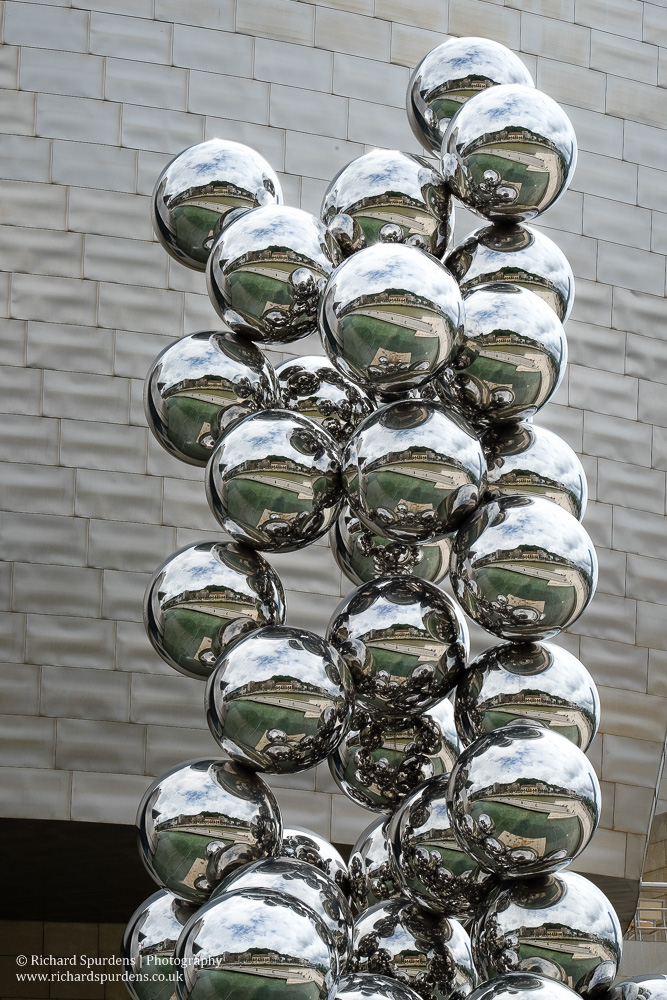
Architecture Photography - Architecture Photographer - Kapoor's Tall Tree & The Eye Instulation
Richard Spurdens Photography – Kapoor’s Tall Tree & The Eye Instulation XF55 – 200mm @ 55m 1/100 @ f13
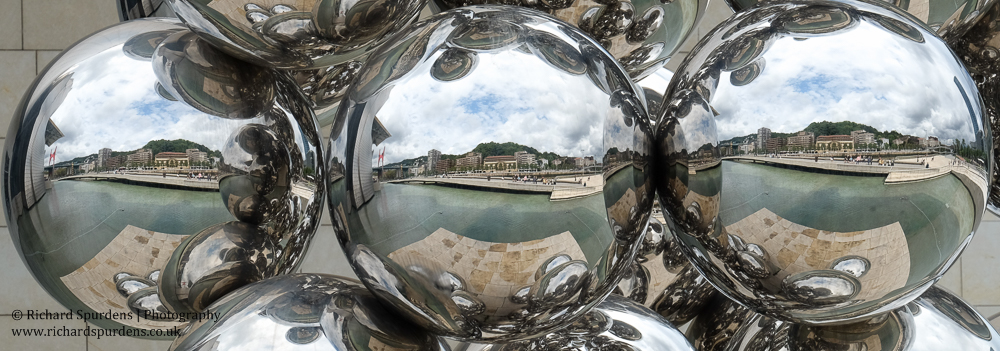
Architecture Photography - Architecture Photographer - tall tree and the eye reflections
Richard Spurdens Photography – Reflections from the Tall tree and eye sculpture by Anish Kapoor XF55-200 @ 110mm 1/125 @ f9.0

Over the next few days I had plenty of opportunity to explore both the exterior and interior of this wonderful building. I loved the shapes and flows of the lines and different colours the titanium cladding gave in the different light. I could have spent a lot more time trying to do it justice. I was lucky that on the days we were there was a lot of rain clouds around so the roof structures stood out well against these dark clouds. It would be a lot different against a clear blue sky I would think.
Architecture Photography - Architecture Photographer - guggenheim roof angles and shapes
Richard Spurdens Photography – Guggenheim roof angles and shapes XF55-200 1/125 @ f6.4
Architecture Photography - Architecture Photographer - guggenhiem view II
Richard Spurdens Photography – Guggenhiem view II Touit f2.8 – 1/125 @ f14

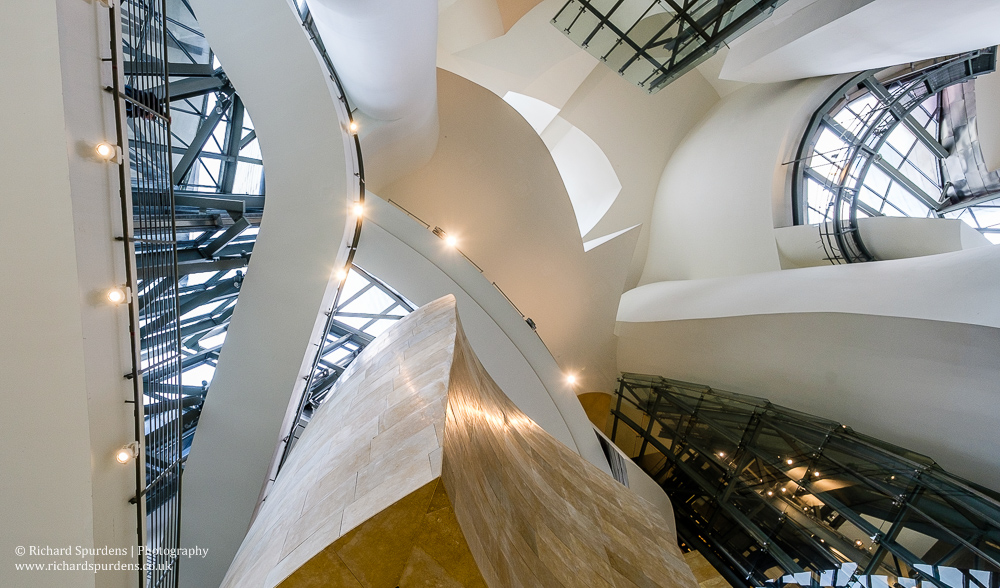
Of course the Guggenheim is not just about the outside and an afternoon was spend inside the wonderful building were you can see the flow of the architect’s design. The support structures are described as being like arteries and the building flows from the outside to the inside with the titanium plates continuing into the building and become part of the interior.

Architecture Photography - Architecture Photographer - glass and steel interior of the guggenheim museum Bilbao
Richard Spurdens Photography – Interior lines and flows Touit 12mm – 1/60sec @ f4.0
Architecture Photography - Architecture Photographer - glass and steel exterior of the guggenheim museum Bilbao
Richard Spurdens Photography – Glass and steel upwards Touit 12mm-1/60sec @ f5.6
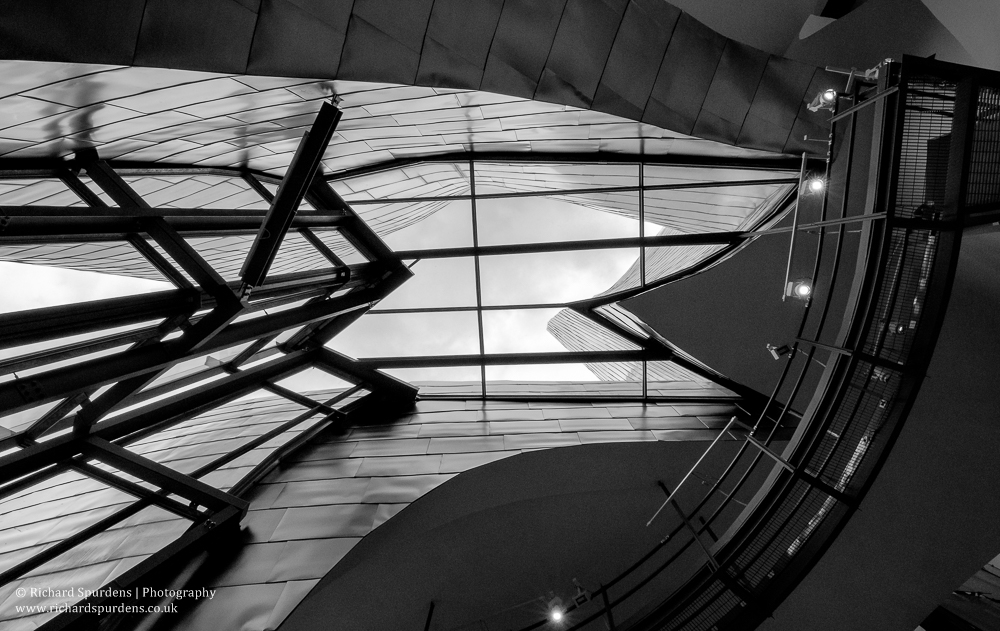
Architecture Photography - Architecture Photographer - glass and steel interior of the guggenheim museum Bilbao looking up
Richard Spurdens Photography
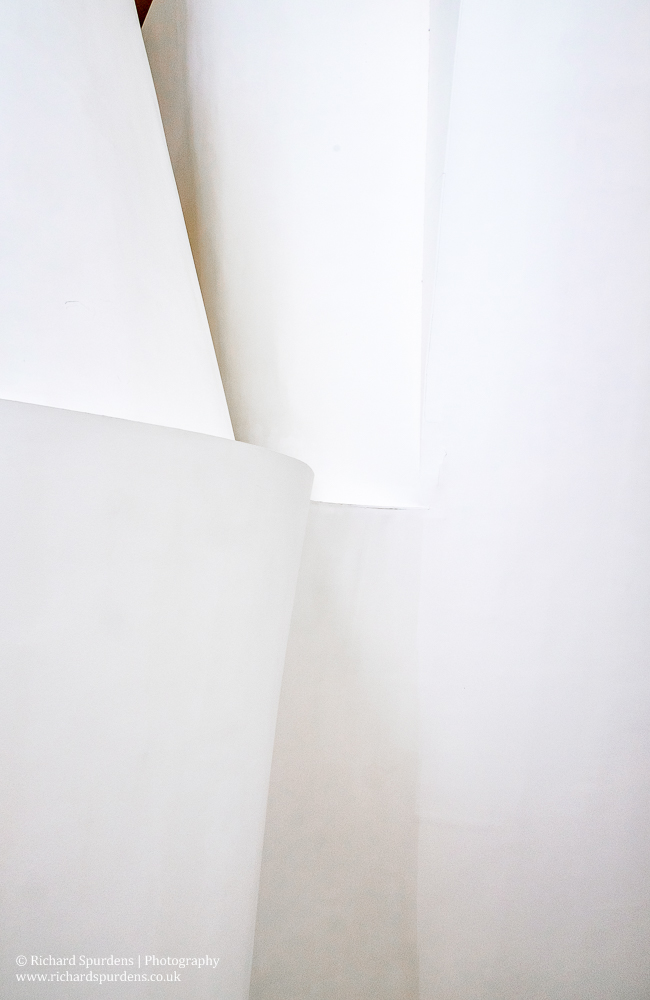
Architecture Photography - Architecture Photographer - wall shapes - interior of the guggenheim museum Bilbao
Richard Spurdens Photography – Curves and lines in white XF18mm 1/125 sec @ f6.4

Photography is allowed in some areas of the building but not others, and you are quickly told if it is not allowed. The exhibition by Richard Serra, entitled The Matter of Time, is just amazing to see and experience and you seem to be able to take images among the structures without any issues but not from the viewing gallery above!

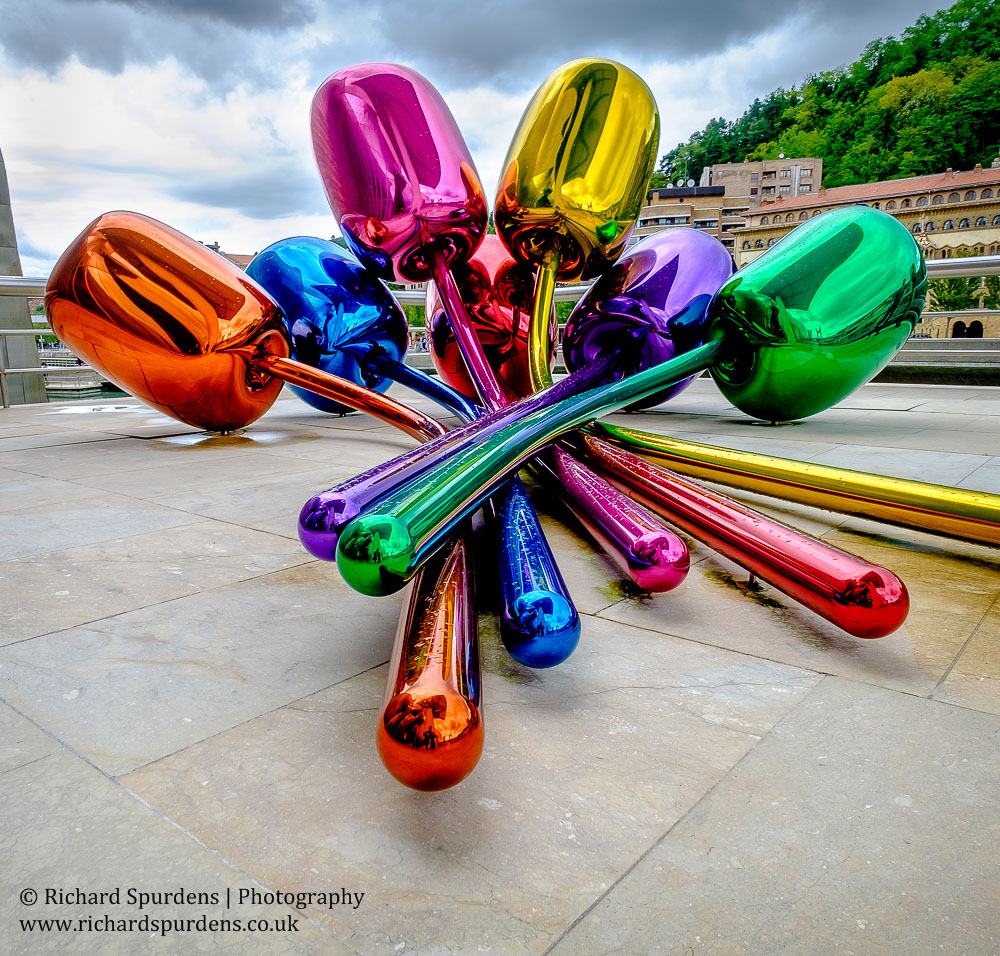
Another more colourful sculpture in the Guggenheim is actually outside but you can only get to it by going and paying the entry to visit the museum. This is a collection of giant tulip bulbs by Jeff Koons, it is certainly photogenic and offers lots of different viewpoints, you just have to wait your moment between other visitors.

Architecture Photography - Architecture Photographer - tulip's by jeff koons
Richard Spurdens Photography – Tulips by Jeff Koons Touit 12mm 1/60 @ f10

The other big exhibition was a retrospective of the work of Jeff Koons (Artsy’s Jeff Koons) including the controversial, ‘Made in Heaven series’. But I didn’t take any images of this exhibition interesting and colourful as it was; for me the building was the star of this show.

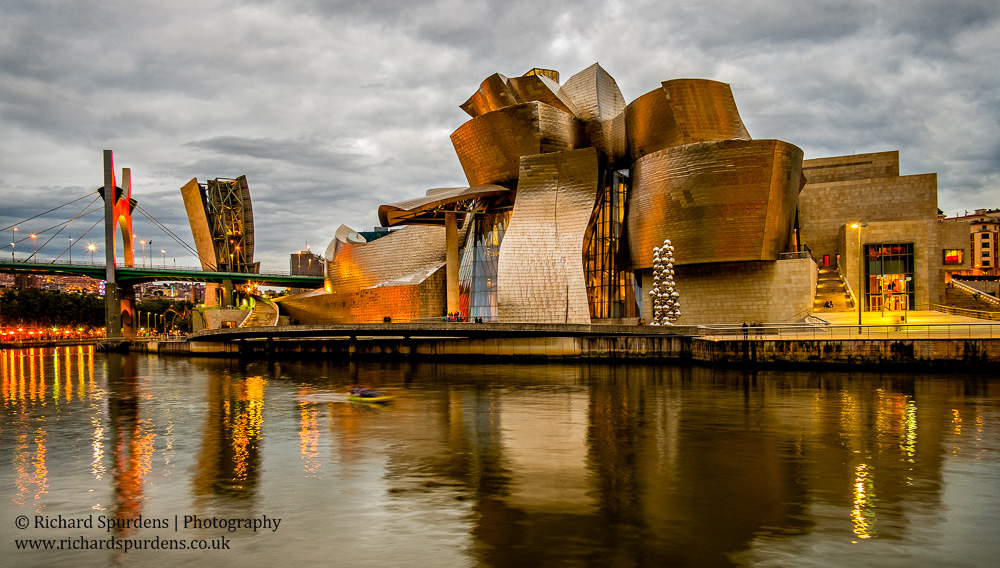
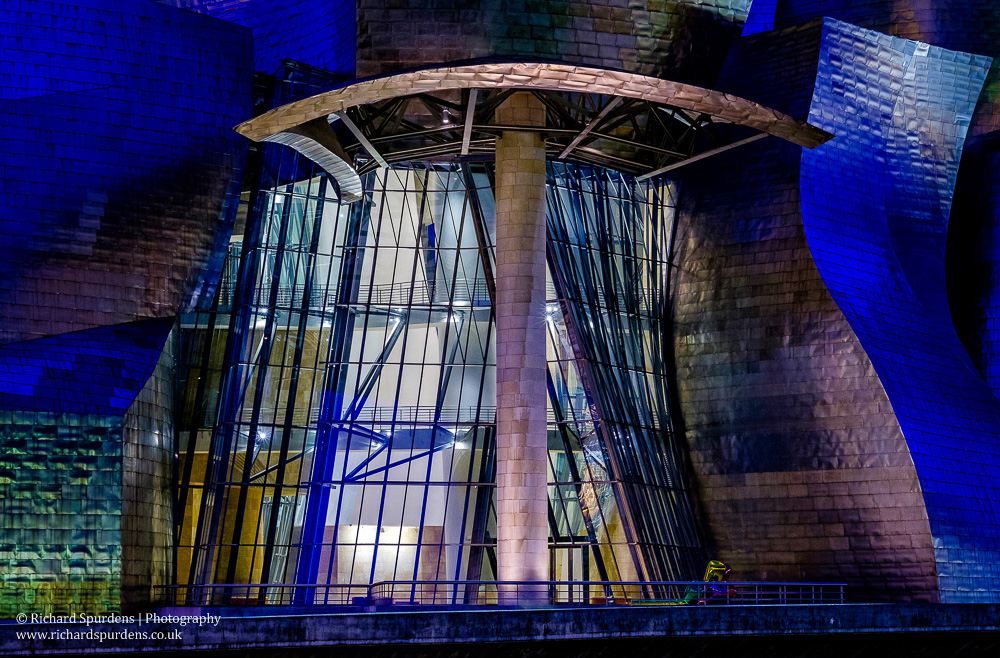
Bilbao also offers some good low-light night photography. Obviously the Guggenheim is the first port of call for this as the building is well illuminated at night as are the outside sculptures and bridges near the museum.

Architecture Photography - Architecture Photographer - guggenheim at twilight Bilbao
Richard Spurdens Photography – Guggenheim from acoss the Nervión river at twilight Xf18mm 1sec @ f10.0
Architecture Photography - Architecture Photographer - glass and steel exterior of the guggenheim museum Bilbao at night
Richard Spurdens Photography – Guggenhiem night colours XF56mm 1sec @ f8.0

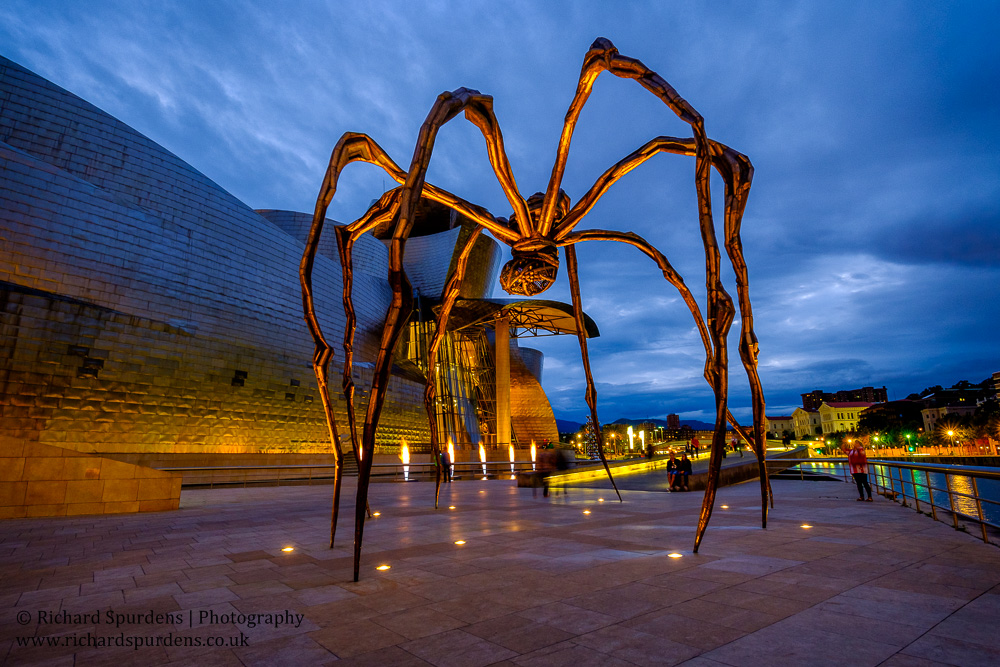
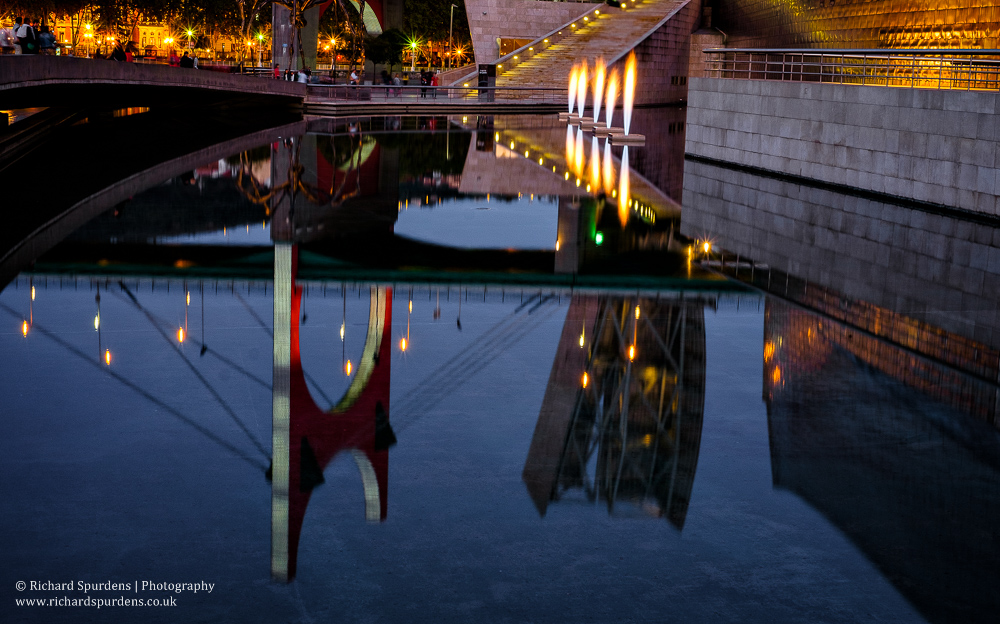
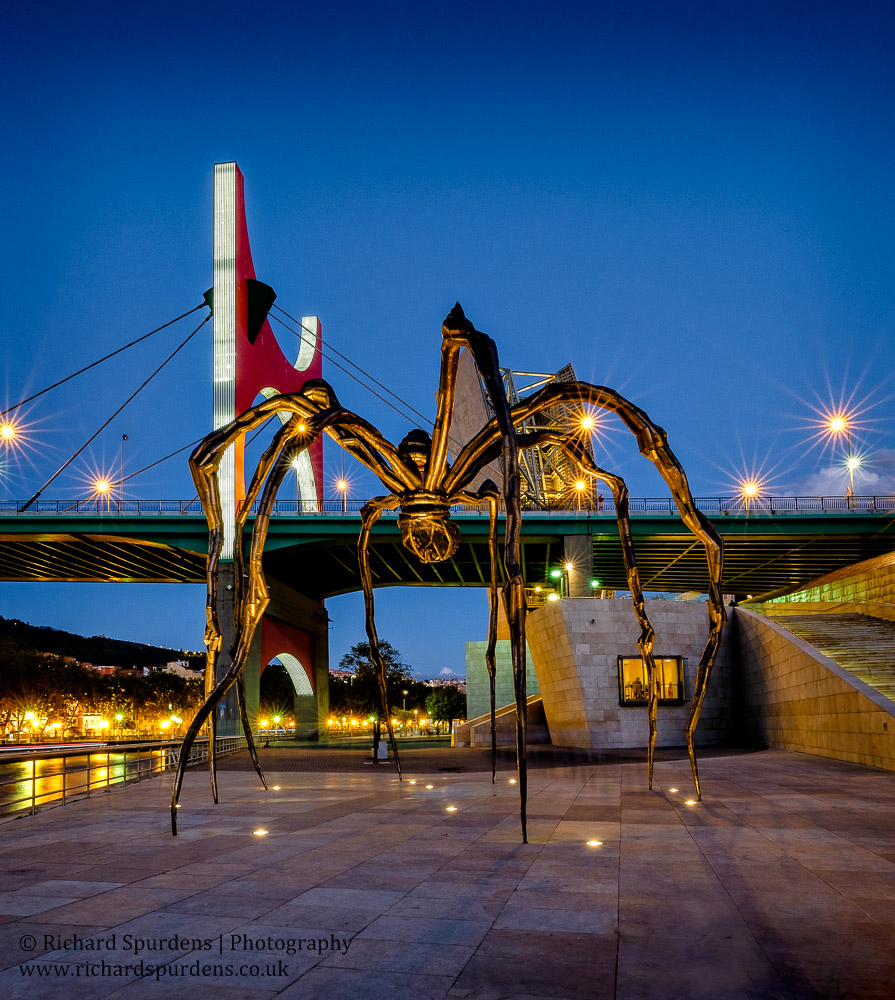
There is a Louise Bourgeois giant spider to try and capture as the night falls and the sculpture and building are lit up. The composition using the spider and building is a bit tricky but I think this one works for me as it also captured the fire fountain (Yves Klein) The fires burn at regular intervals for around 30 seconds so you just need to choose your location and then setup and wait for the roar of the flames. I was hoping the long exposure would take out most of the other visitors but one or two chose to stand for long enough to register.

Architecture Photography - Architecture Photographer - maman spider at night
Richard Spurdens Photography – Maman spider at night Touit 12mm 1sec @ f8.0 ISO800,
Travel Photography - travel Photograher -Bilbao reflections
Richard Spurdens Photography – Fire fountains and reflections XF35mm 4.0 @ f 14
Architecture Photography - Architecture Photographer - maman and arcos rojos at twilight
Richard Spurdens Photography – Bilbao maman and the arcos rojos bridge structure

Save


3 Legged Thing ‘Brian’ Tripod impressions

X1.1 Brian Evolution 2 Carbon Fibre Tripod System with Air-Hed 1 Blue
Having found the need for a travel tripod I did some research on what was available on the market at this time and found a British company that make what looks to be a good range of tripods. The company is called the 3 Legged Thing. Now if I can I will support British manufacturers if they make a good product and I had come across the name a few times but never really looked at the products so having found a good deal on the above item (this is not the latest version which is Evolution 3) I went ahead and purchased one.


For travel I made the decision last year to go with the Fuji system (the X series) as its compact and very light in comparison to the Canon which is a big plus as it is easier to carry and get onto aircraft. They also do a good range of lenses too. So I think that this tripod will work well with the setup. The proof will be in the field of course.
I have never used a travel tripod before as I have usually taken my Canon system with me on my travels and so packed my full size Manfrotto which was always a challenge. The thing that made me go for the 3 Legged Thing ‘Brian’, was that it had a good height range which some of the others didn’t. It extends at full extension to around 2.0 metres and the kit weighs in at just 1605g. Apparently its called ‘Brian’ after a certain rock guitarist – all the tripods in the range are named after guitarists.

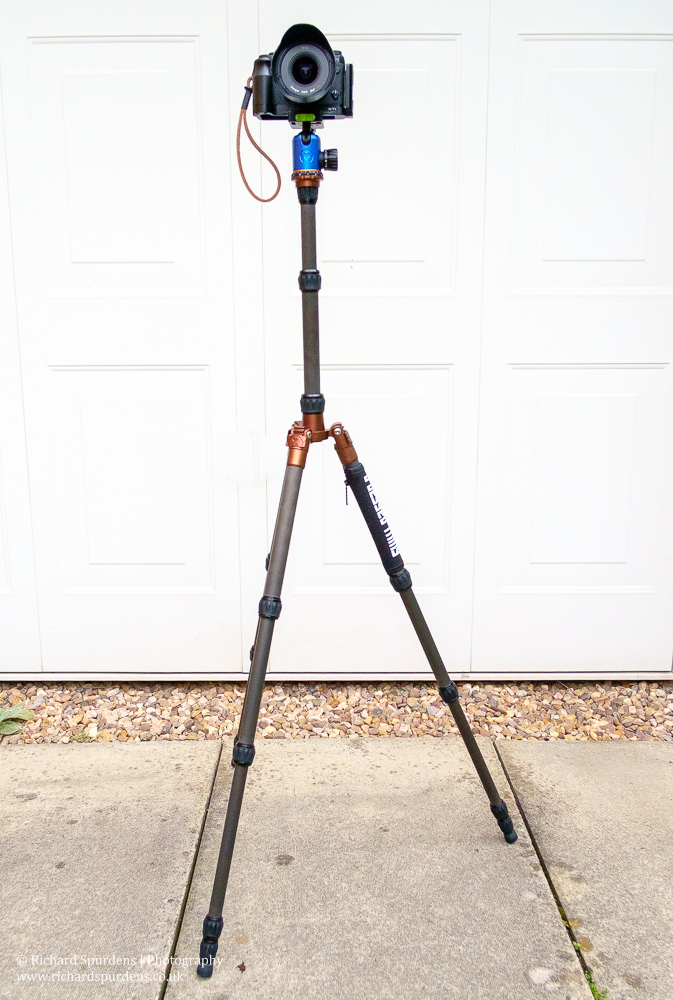
When fully extended this tripod will put the camera at round my head height (I am about 6ft), so this was a good tick in the box for the selection.

product photography - product photographer - the 3 legged thing brian tripod- extended
Richard Spurdens Photography – 3 legged thing Brian – extend


In terms of design ….
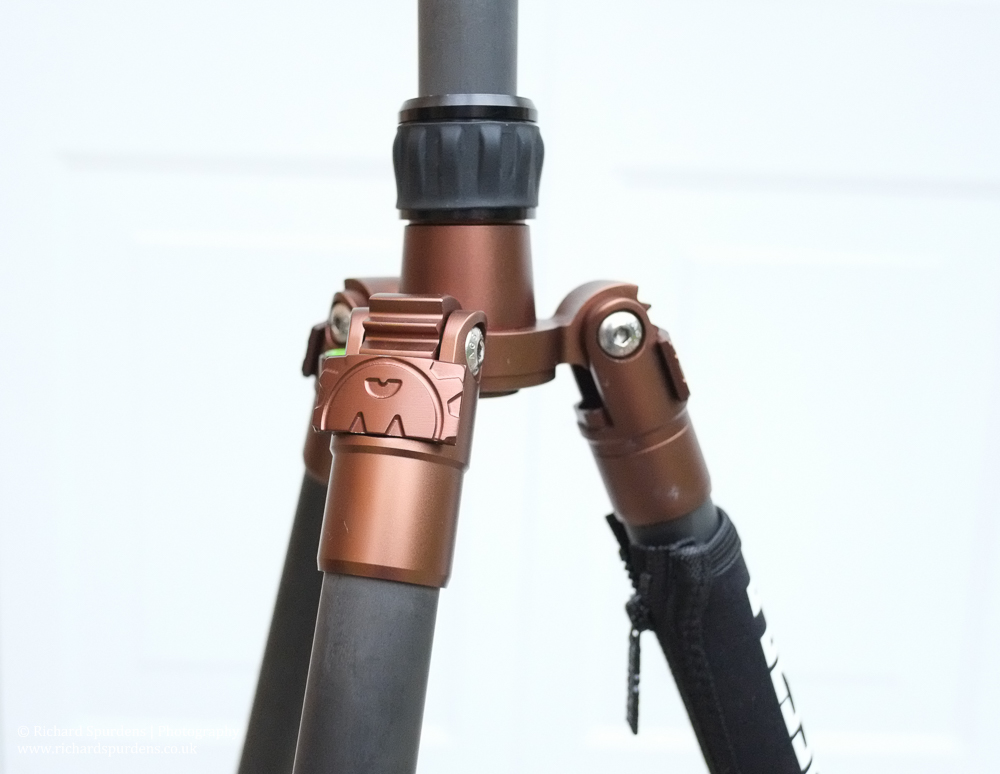
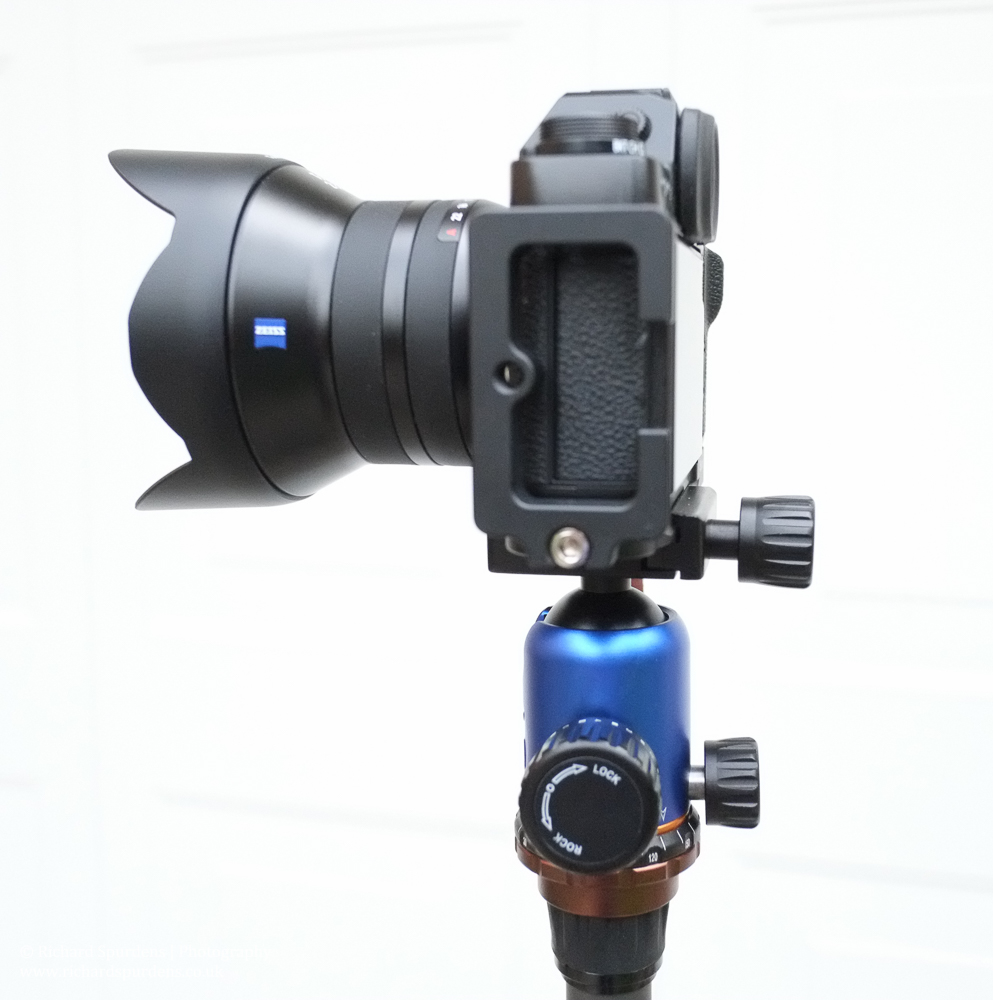
The tripod legs actually fold back on themselves to save space; (see the image at the top of the post) this is common with most of the current range of available travel tripods, and in theory should make it easier to pack and transport, which was another reason for going for a travel tripod. The legs and central extension column lock in place with twist locks which seem to work well. They have a rubberised coating which is a nice feature and they are easy to use.

product photography - product photographer - 3 legged thing brian - leg locks
Richard Spurdens Photography – 3 legged thing Brian – leg locks

Again as with most of the units I short listed, you can unscrew one of the legs and with the head and centre column you then have a monopod, which may be useful – we shall see. There is also a zip-on neoprene cover on one of the legs, which may be useful in colder weather; this again is common on most of the other makes too.

I have tried out the tripod a couple of times and so far have found it steady enough with the Fuji set up (not tried the long lens yet) in normal conditions. How it will cope in windy conditions we will see but it is provided with a retractable hook (spring loaded) on the centre column from which you can hang a camera bag if you think that would help. I have not tried it out with all the legs and columns fully extended, this would put it well above my normal working height, but it is good to be able to go there if I need that bit of extra height. However this will make it a bit more susceptible to magnifying any movement as it uses the thinner sections of the central column.

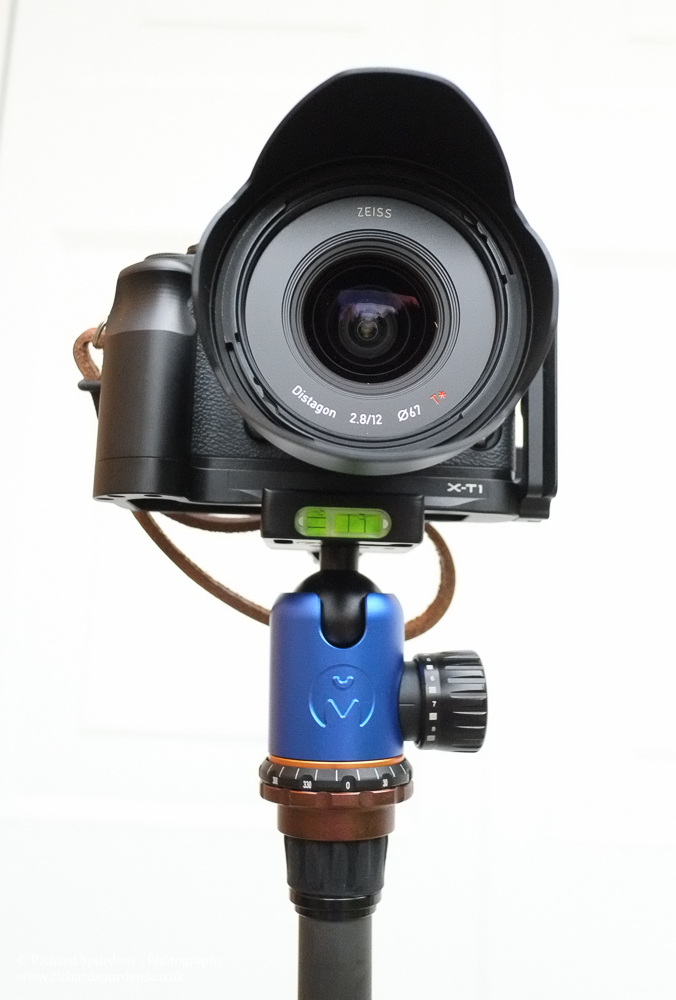
The ball head supplied with this version of the ‘Brian’ is the Air-Hed 1 and it is well made and seems to work well once you get used to what each knob does. Again I need to use it more out on my travels to really get a feel for it.

product photography - product photographer - 3 legged thing brian - camera and head
Richard Spurdens Photography – 3 legged thing Brian – camera and head

There is a new version of this head (the Air Hed 3) which is what you will get if you buy the current model Evolution 3. I am not exactly sure what the design changes are but the pictures show that it has a slightly different shape and comes with a with detachable Pano-Clamp.

I have an L bracket plate–grip fitted to my camera and really like the design and slightly extra grip it gives you. It provides a bit more protection for the body and is quick mounting with its Arca Swiss groves. As the Air Hed comes with an Arca Swiss compatible release plate this was another tick in the box for me when I was deciding on which tripod to purchase.

When it arrived this was one of the first things I checked and it fitted perfectly. It does make using the camera and tripod together very easy and I would recommend it to any Fuji X users

product photography - product photographer - 3 legged thing Brian - Air head
Richard Spurdens Photography – 3 legged thing Brian – Air head

The head is supplied with a plate but I have not used this as yet, so I am not able to comment on how well it secures the camera etc. You also get a tripod bag with handles and a carrying strap which is useful. The case is padded and of good quality and has hard ends. However this makes it a bit difficult to pack as you can’t flatten it if you need too. It also has a pocket in the end that opens and where you can keep your accessories like the supplied allen keys etc.

Overall my first impressions of this tripod have been good, and I am looking forward to using it soon. I will blog some results using it in the near future.

Save


A day out in Ribblesdale in the Yorkshire dales

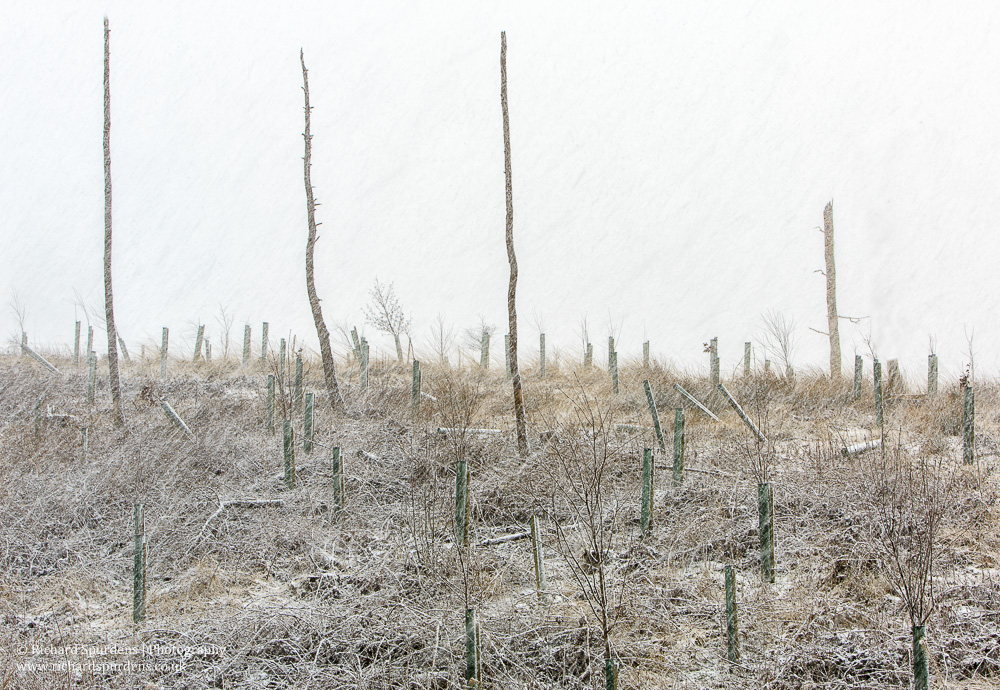
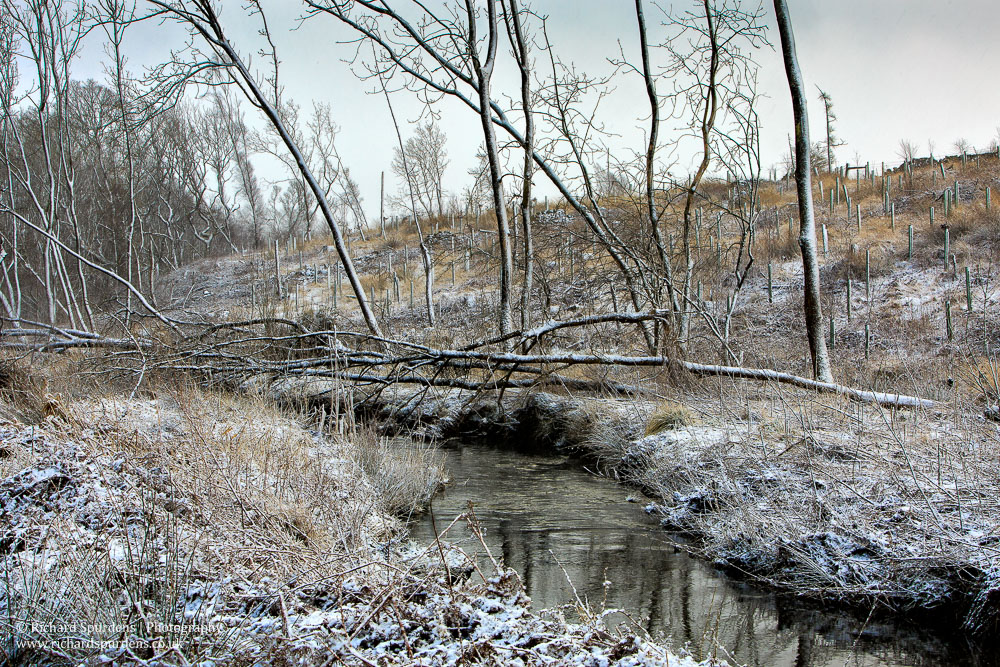
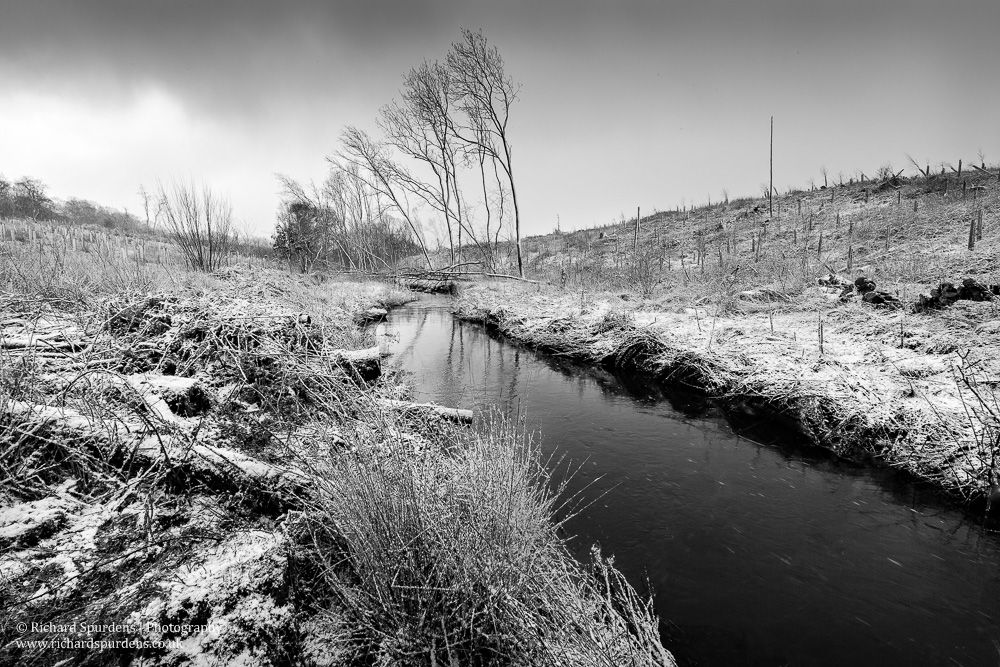
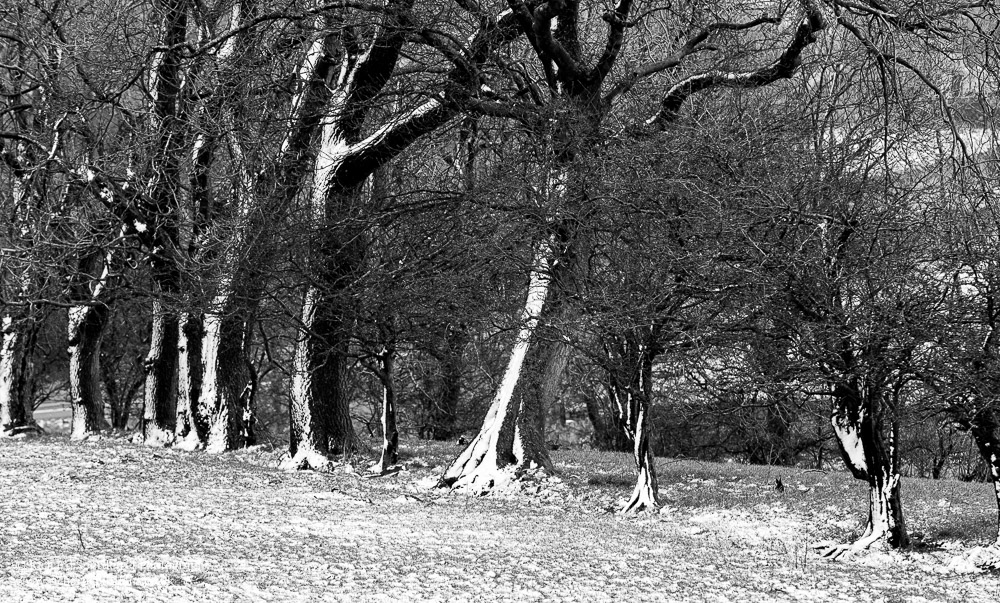
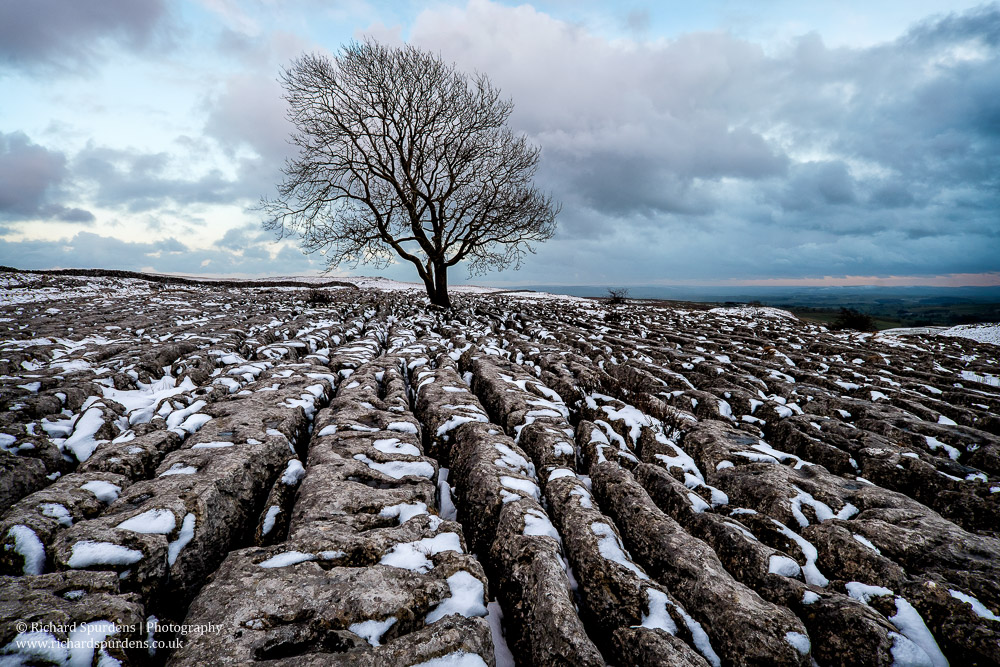
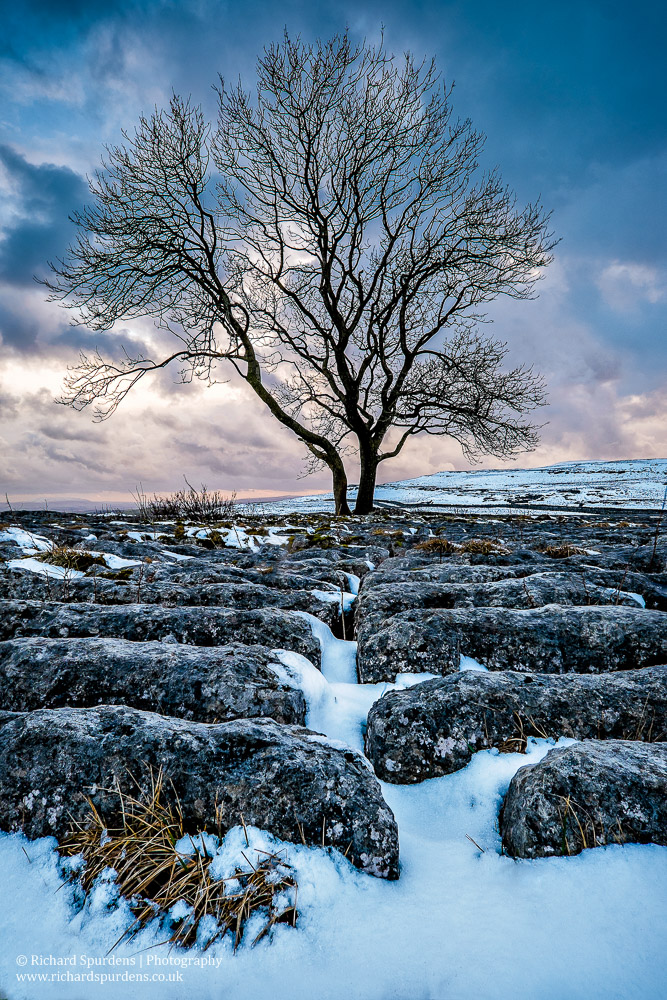
I finally managed to get out to do some landscape photography last Monday when I had a day out in Ribblesdale and surrounding areas with my good friend and professional photographer Ade Mcfade. It was a bright but cloudy day with a strong wind blowing which brought frequent snow showers to locations and turned the mundane into interesting landscapes in a matter of a few minutes.

When we got into the hills and up to the snow line, the snow was around 6-8 inches deep, so it was a challenge to keep our feet on some of the slippery limestone pavements. With this sort of weather the scenery changed dramatically from the normal type of images you might expect to capture up there. We spent most of the day stopping at known locations and some unknown which suddenly became interesting and offered photographic opportunities that on a normal day would not be there as the snow turned them to a winter wonderland.

With the snow showers moving in and out all day, there were some good images to be had.  When the cold (a big wind chill factor going on this day from the strong wind) finally got the better of us we moved on to a different location to find what the snow had done to the scenery there.

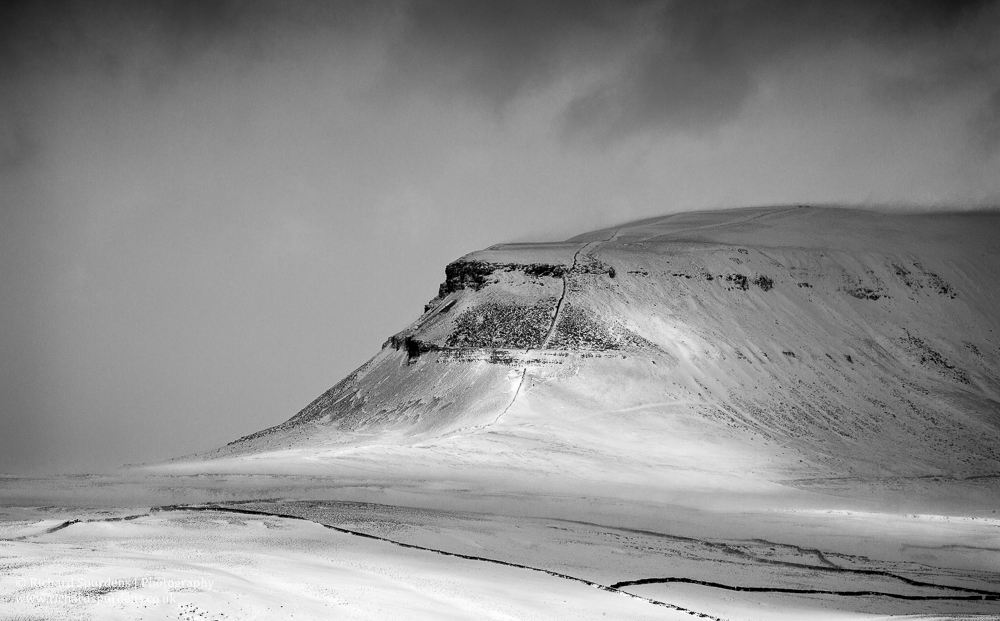
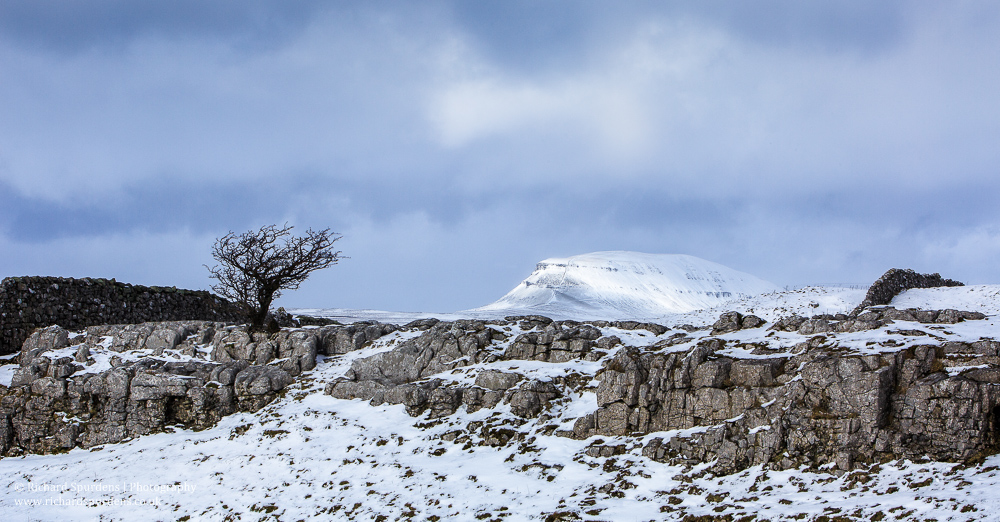
I started out shooting with my Canon 5DMkIII and either the 70-200mm f2.8 zoom or my wide angle 16-35mm f2.8 zoom lens. These two are my favourite combination for working in the landscape. But I had brought along my 400mm f5.6 which proved very useful for some distance shots of a moody snow covered Pen-y- Ghent. Getting a telephoto view of some landscapes can be beneficial with the telephoto effect of the lens providing a compressing perspective and giving a different view point to the normal.

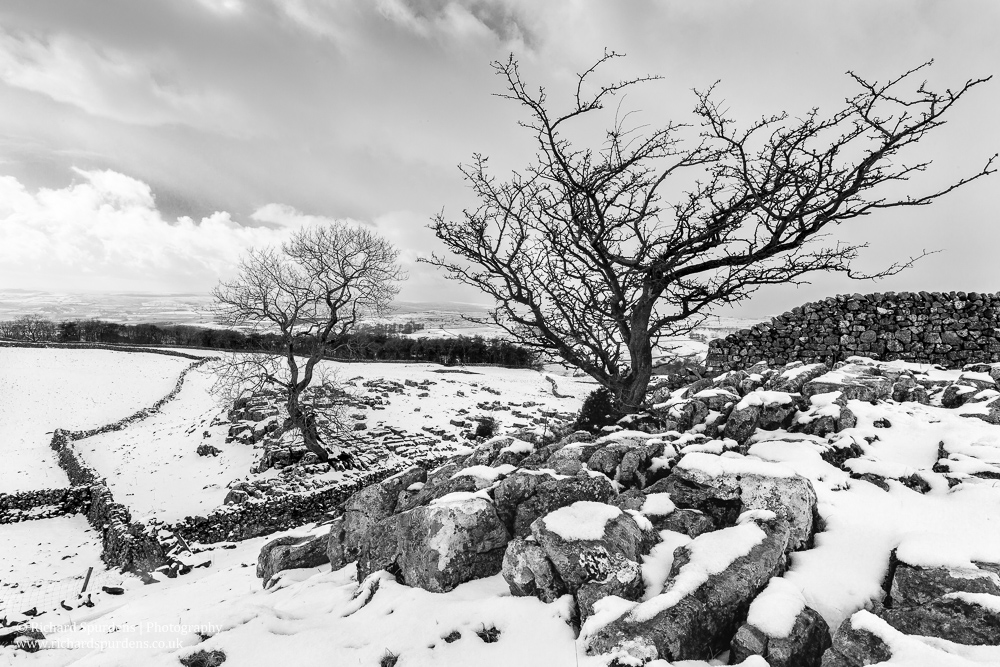
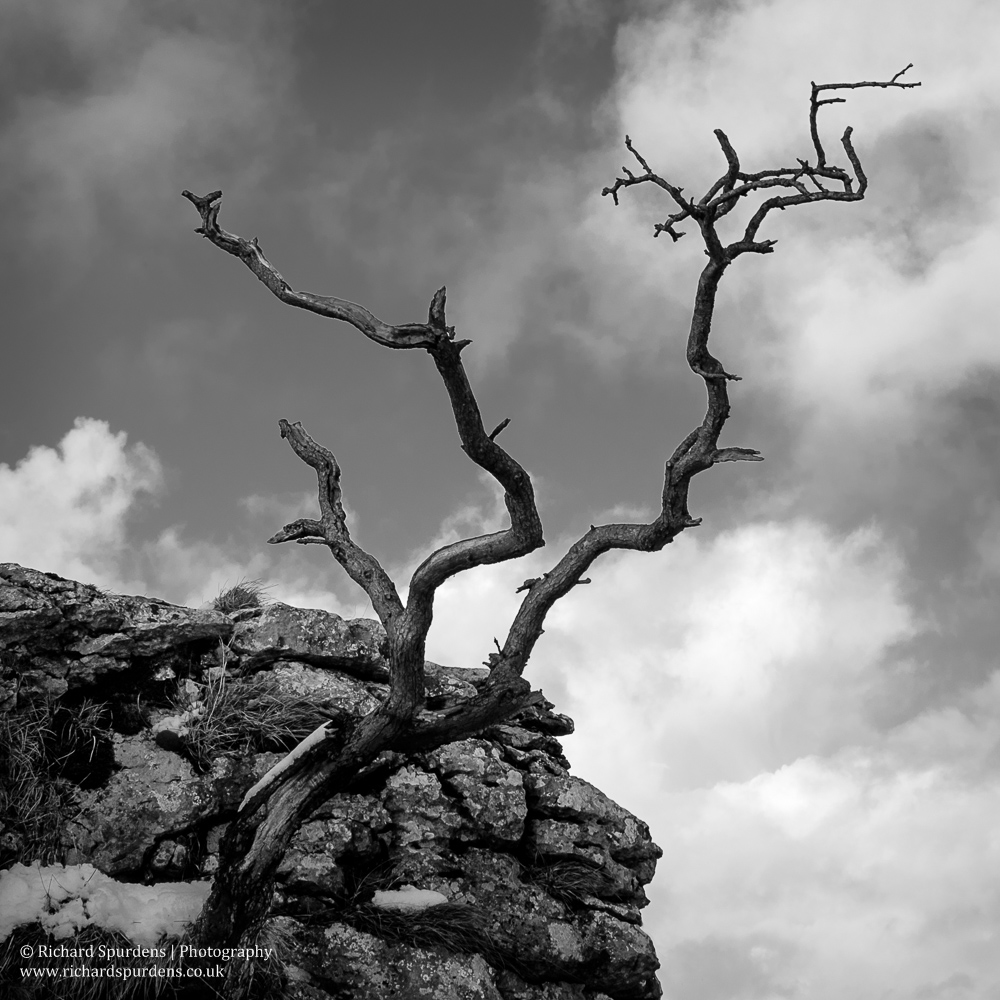
Shooting with ‘live view’ worked well for most of the images until the camera decided that the batteries had had enough and ‘live view’ stopped working. The camera would take pictures but you didn’t get a display of the image you had taken. So I swapped over to my Fuji mirrorless camera which had my Zeiss 12mm F2.8 on for the day, which allowed the trip to continue. So as the light was starting to fade, we headed off to finish the day at one of the limestone pavements with the famous tree and despite the cold wind, the Fuji performed faultlessly all the time.

While I love working with the Canon DSLR which is solid and weighty (and helped weight down the tripod!) and is usually so reliable,  I did have had a 5DmkII stop working in these type of conditions a few year ago, so perhaps its worth having extra batteries on hand for these type of conditions.

It was good to have the Fuji in a bag ready to take over and I enjoyed using it with the Zeiss lens.  The final three images are from the Fuji.

Landscape Photograher - Landscape Photography - a day in the dales -13
Richard Spurdens Photography – A day in the dales -13
Landscape Photograher - Landscape Photography - a day in the dales -12
Richard Spurdens Photography – A day in the dales -12
Landscape Photograher - Landscape Photography -
Richard Spurdens Photography – A day in the dales -11
Landscape Photograher - Landscape Photography -
Richard Spurdens Photography – A day in the dales -10
Landscape Photograher - Landscape Photography - a day in the dales -9
Richard Spurdens Photography – A day in the dales -9
Landscape Photograher - Landscape Photography - a day in the dales -7
Richard Spurdens Photography – A day in the dales -7
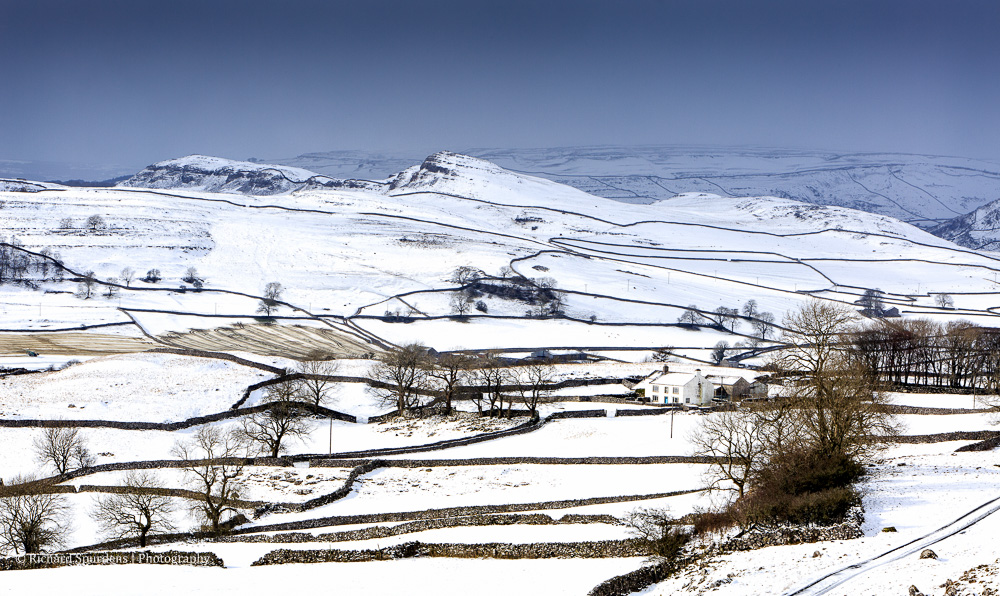
Landscape Photograher - Landscape Photography - colour image of a snow dale a white farm house is on the right hand side third and the dry stone wall patterns stand out well against the snow - a day in the dales -8
Richard Spurdens Photography – A day in the dales -8
Landscape Photograher - Landscape Photography - a day in the dales -5
Richard Spurdens Photography – A day in the dales -5
Landscape Photograher - Landscape Photography - a day in the dales -4
Richard Spurdens Photography – A day in the dales -4
Landscape Photograher - Landscape Photography - a day in the dales -3
Richard Spurdens Photography – A day in the dales -3
Landscape Photograher - Landscape Photography - a day in the dales -1
Richard Spurdens Photography – A day in the dales -1
Landscape Photograher - Landscape Photography - a day in the dales -2
Richard Spurdens Photography – A day in the dales -2

So a good day out in Ribblesdale and beyond……


Triggertrap review

When I go out to shoot landscapes I will work with my camera on a tripod and use a remote trigger release to trigger the shutter, as this I have found helps to stop any small movement or vibration that may occur when the shutter is released. I also work with the live view mode so the mirror is locked up to start with.While I was out in Iceland shooting landscapes my remote trigger broke (and yes, it was the expensive Canon one). So I when I got back I was looking around for a good alternative replacement to this.

Searching the net I started to find some good positive reviews of an app called Triggertrap, from a company called:

The company produces an app called Triggertrap Mobile which is an app that you download to your phone and which leverages the power of your smartphone and adds a metric craptonne (!) of additional features to your camera and it works on either iPhone or Android platform.

To be able to use it, you’ll need a smartphone with the Triggertrap mobile app (and this is free download! from iTunes or Google play). Then you need to buy a Triggertrap Mobile connection kit for your camera. They have got over a dozen different kits, and they say that they have more than 300 different models of cameras covered with these kits. These kits are not expensive either in the £23 range depending on the kit you need.

So what can the Triggertrap app do?

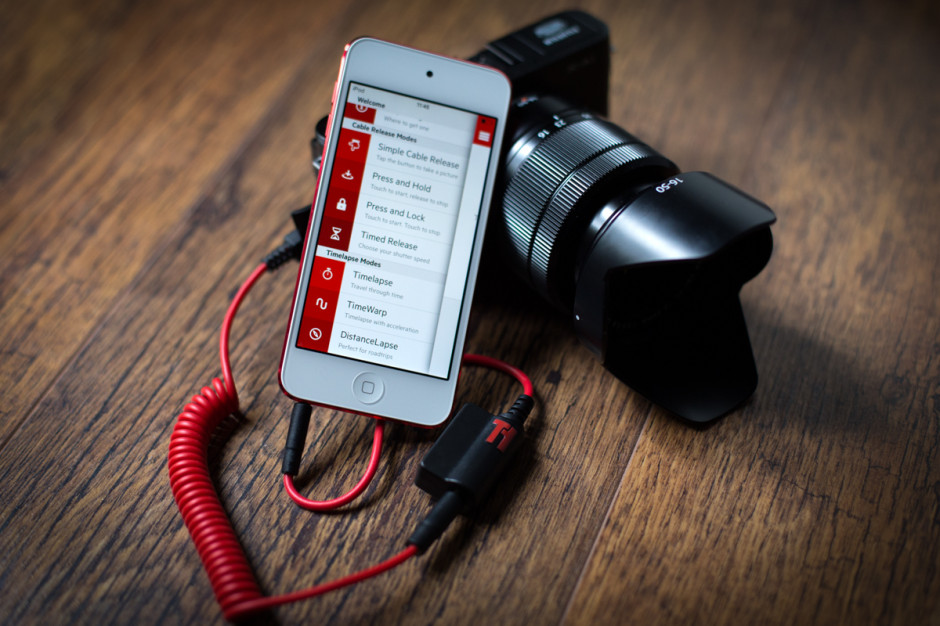
It has a Cable release option which enables you to trigger your camera in any of the following ways:
Simple cable release: tap the button for a picture
Quick release: release button to take the picture
Press and hold: touch to start, release to stop
Press and lock: touch to start, touch to stop
Timed Release: choose your shutter speed
Self timer: photo in 3…2…1

There are Time-lapse modes which gives you the following:

Time-lapse: travel through time,
Time warp: time-lapse with acceleration
Distance lapse: perfect for road trips

Bramping: bulb ramping time-lapse
Star Trail: extreme exposure control
HDR modes:
LE HDR: Long Exposure HDR sets with up to 19 exposures
LE HDR Time lapse: create time lapse with all the details of HDR

Calculators: ND calculator

and finally Sensor modes:
Sound sensor: activated by sound
Vibration sensor: activated by vibration
Motion sensor: activated by motion
Peekaboo: see a face take photo

So as you can see this app has a lot to add to controlling your camera remotely. It is well priced and when I ordered the cables, they were with me within two days of placing my order.

So how do you use it? That is very easy really; you connect your camera and your phone via the cable, you boot up the app and select the mode you want to use and that is it.

(image from the triggertrap website)

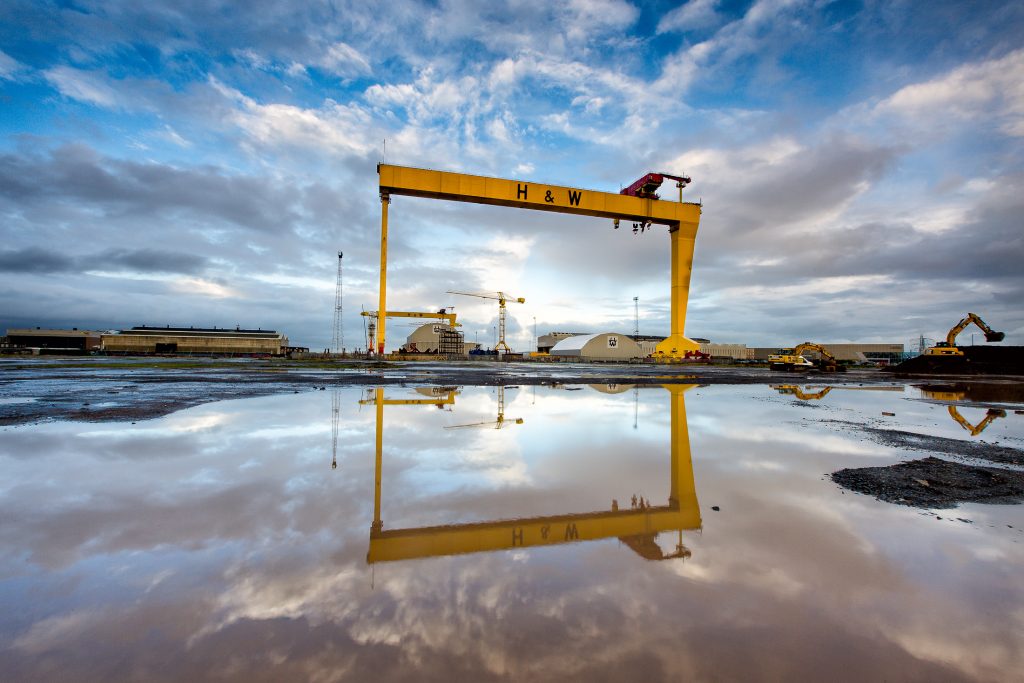
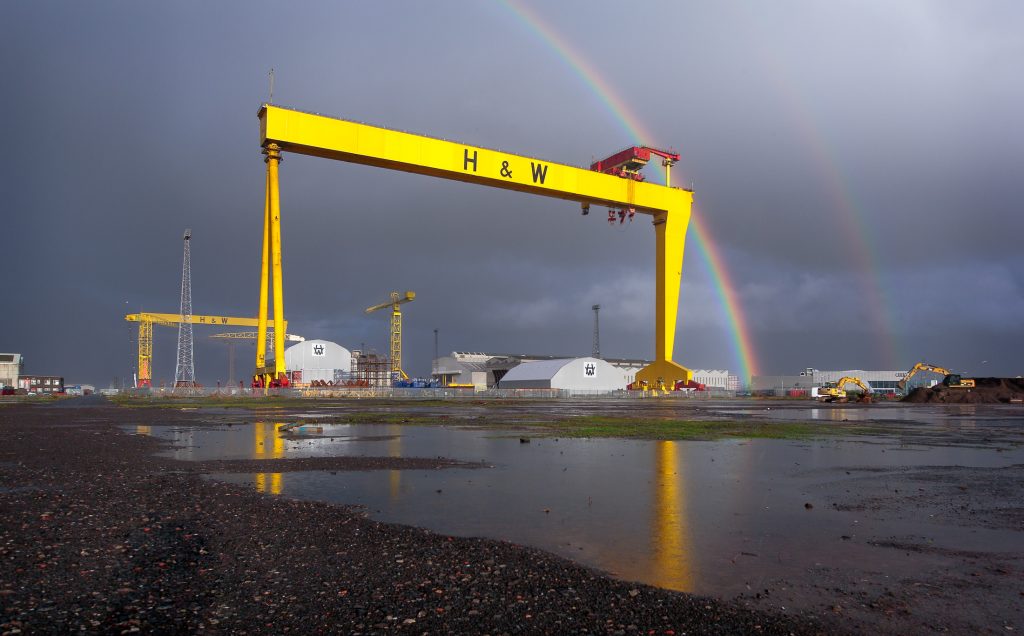
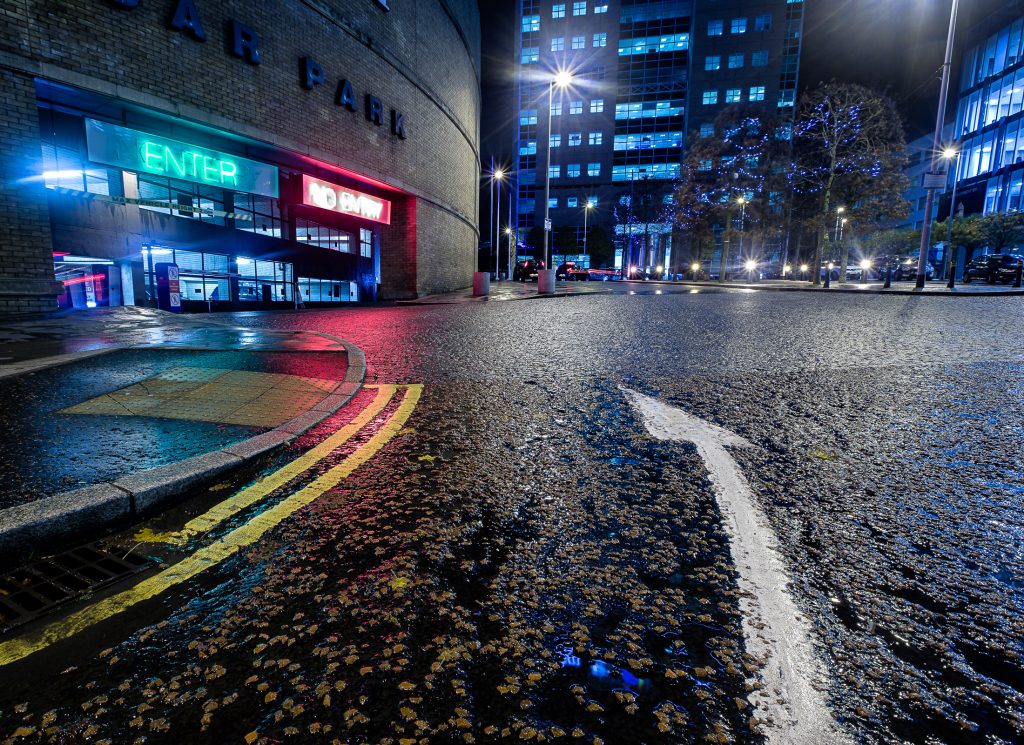
I have only just tried out the cable release option and I have to say this worked well; my only issue is you have to hold your phone all the time as I was not over keen on letting it dangle down over a large puddle which is where I was shooting at the time. So here are a few images shot using the app whilst in Belfast.

landscape photography - landscape photographer - reflections of the big crane at harland and wolfe belfast
Richard Spurdens Photography – travel series belfast

Car park arrow

street photography - street photographer - road arrow pointing into the carpark
Richard Spurdens Photography – travel series belfast
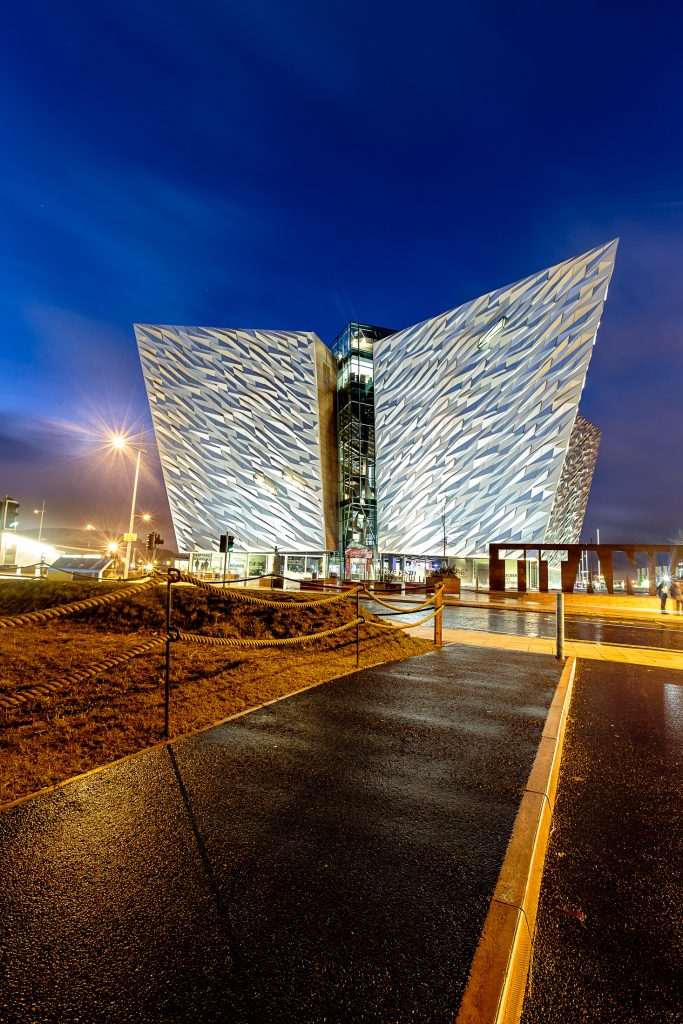
architecture photography - architecture photographer - titanic building evening light
Richard Spurdens Photography – travel series belfast
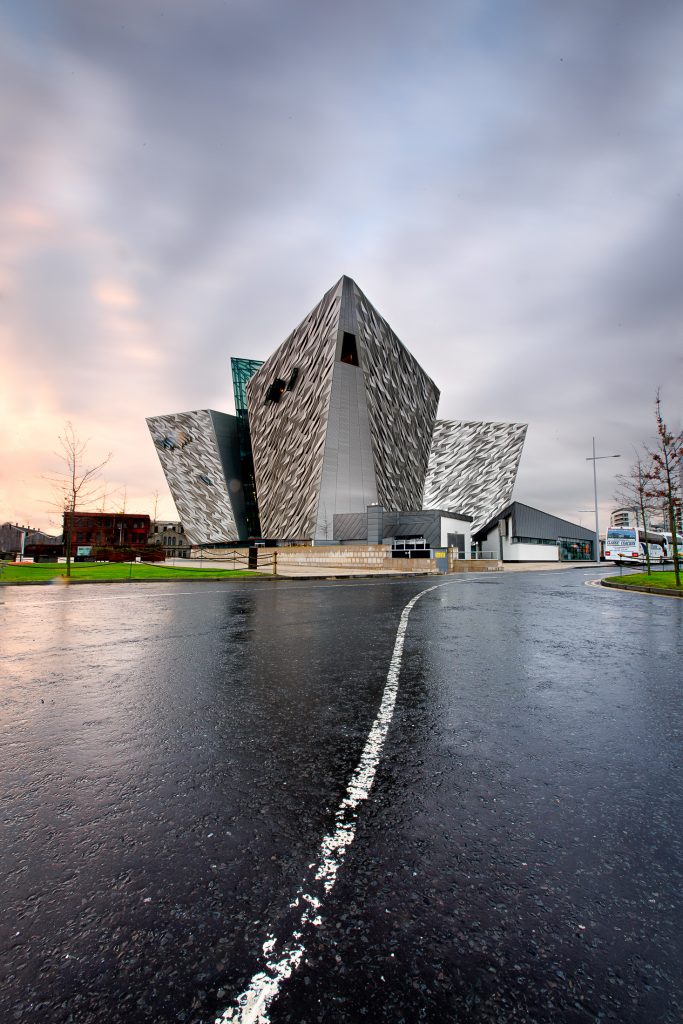
architecture photography - architecture photographer - titanic building after the rain
Richard Spurdens Photography – travel series belfast

With all the other options to explore like HDR, movement, triggering etc, or if you want to plunge into new creative realms with your photography and you need a device that can do it “all” then I would recommend you check out the Triggertrap app.

I have only just used one of the modes so far and was impressed with it and will not be looking at an expensive Canon remote any more.

So check out Triggertrap I really don’t  think you would be disappointed.


A few images from a visit to Cork (Ireland) with the Fuji XE-1

Now Cork is a great place to visit and when it combines with the Guinness jazz festival I thought it would be a good place to put my newly acquired Fuji XE-1 thought its paces. I had chosen to stay with prime lenses with this camera and so all these images were shot using the 18mm and 35mm Fuji primes, which equate to approx 28mm and 56 mm with the sensor crop.

Fuji have some great info on their web site as well as the mini-product site at http://fujifilm-x.com/x-e1/en/. Worth a look if you are interested, but do please come back here to finish reading my post.

I  have to say I loved using the XE-1 camera – setting the aperture and shutter speed is easy and you quickly start to enjoy having it in the hand and framing the shot using the rear screen. I have yet to use the electronic view finder that the XE-1 comes with, but there is time to try this in the future.  Overall I thought the XE-1 performed really well giving good details and colours. The lighting conditions in some of the venues were challenging to say the least and it needed an ISO setting of 6400 to have any chance of getting an image and yet I feel it returned some acceptable images despite the difficult lighting.

Outside on the street the camera performed equally as well capturing some of the things that attracted me as we walked around the streets visiting the sites off and around As  Patrick Street. and also visiting some of the more interesting bars.

Mutton Lane, with its candlelit dark corners and some fine tasty pints was again a good place to test out the XE-1 low light capabilities, they opened 20mins early for me so managed to get some images without customers. As well as the main Patrick Street.
One recommended addition to the XE-1 is a grip and following some research on the web I found a Fuji users website on which there were a lot of recommendations for the i_shoot grip for the Fuji XE-1. It comes from China and I think it is made there for the Really Right Stuff company  as it looks exactly like one of their items but costs considerable less than the RRS grip.

I purchased it via ebay and it arrived in about 14 days and is a great addition to the XE-1. Far better than the Fuji grip as there is no need to remove it to change the battery or memory card. It also fits the tripod head mount so that is a win win for me.

Overall I really like the XE-1 and looking forward to using it again in trying it out in the studio too.


Crash

A Window 7 crash causes a lot of frustration and angst while you try and sort the problems – read on to find out what I learned from the experience and how to get back your Photoshop and Lightroom setting and preferences.

In the past I have let windows updates go ahead automatically but this is not a good strategy, as I found out to my cost recently. In fact it can and did cause me a lot of work and angst.

The PC had been working fine all day but a break was need so I had switched it off, and it did an install of updates and when I returned that evening to do some more image work it would not boot up. One of the updates  (most likely a driver update) had changed something and it was stopping the machine from booting up.

The splash screen error message was “unmountable boot error”.

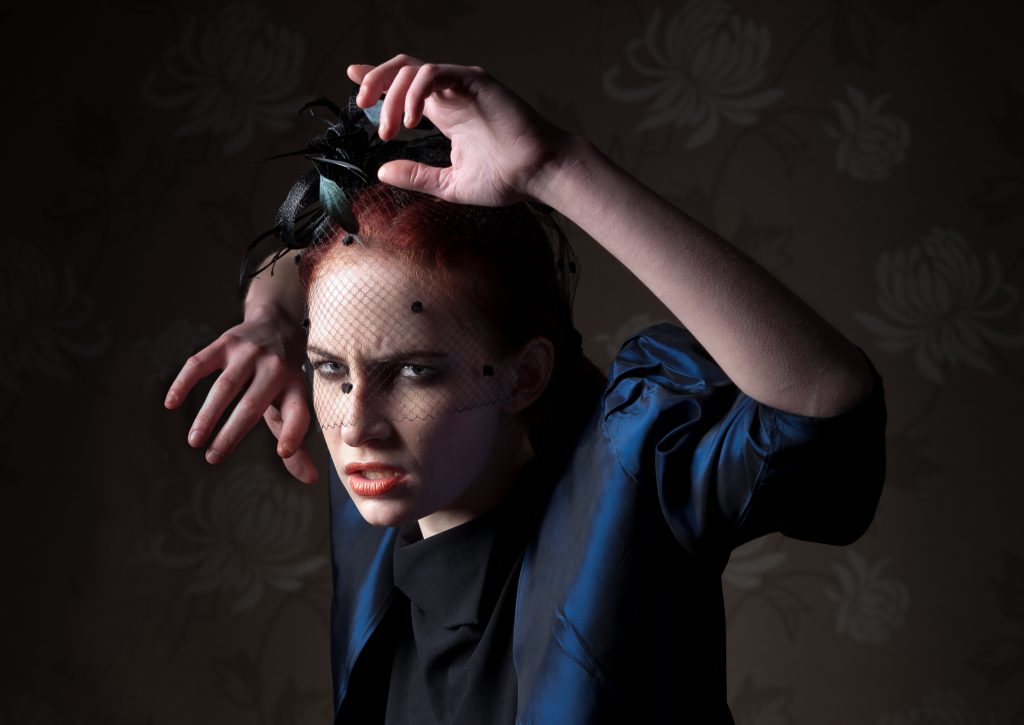
Portrait photographer- Portrait photography - anger
Richard Spurdes Photography – Anger

Which after a lot of web research and the trying different approaches to getting the system to boot again, I decided that the best solution was to reinstall the operating system on a new hard disc. This is of course a real pain as all your programs have to be reinstalled and then you have to find your key codes and then for programs like Photoshop your actions and setting too.

Fortunately all my images are stored on a separate Raid 5 drive, so they were ok I just need my operating system and programs back to be able to work with the image again. The timing of this event was of course practically bad as firstly I was half way through rebuilding my website follow its crash and I had my first camera club talk of this season coming up in two weeks and my presentation was only half done.

So what did I learn from this exercise, that is worth passing on in this blog: firstly don’t let windows do automatic updating turn this off. Just remember to check once a week to see what is in the list updates and make your own mind up about what to install.

Here is the windows info for changing that setting  info  http://windows.microsoft.com/en-gb/windows/turn-automatic-updating-on-off#turn-automatic-updating-on-off=windows-vista

  1. Open Windows Update by clicking the Start button , clicking All Programs, and then clicking Windows Update.
  2. In the left pane, click Change settings.
  3. Choose the option that you want.
  4. Under Recommended updates, select the Include recommended updates when downloading, installing, or notifying me about updates check box, and then click OK.

As a photographer who uses both Lightroom and Photoshop making a back up of your preferences / setting files for both these programs is well worth the small effort.

These are located on a Windows machine in the following locations on your system drive

Users/[Username]/AppData/Roaming/Adobe/Adobe Photoshop [version #]/Adobe Photoshop [version #] Settings

Users/[Username]/AppData/Roaming/Adobe/Lightroom [version #]/Adobe Lightroom [version #] Preference

These can be found by searching for  (*.agprefs)

Here is also a list of location of other bit of the Photoshop program that might be of use too.

FilenamePath
ActionsActions panel.pspUsers/[user name]/AppData/Roaming/Adobe/Adobe Photoshop CS5/Adobe Photoshop CS5 Settings
Camera Raw.xmp files saved from Camera Raw dialogUsers/[user name]/AppData/Adobe/CameraRaw/Settings
Color settings (Color management)Color Settings.csfUsers/[user name]/AppData/Roaming/Adobe/Adobe Photoshop CS5/Adobe Photoshop CS5 Settings
Custom Color settings (Color management)Userdefined.csfUsers/[user name]/AppData/Roaming/Adobe/Color/Settings
Custom proof setups (Color management)Userdefined.psfUsers/[user name]/AppData/Roaming/Adobe/Color/Proofing
Editing and painting toolsBrushes.psp, Contours.psp, Custom Shapes.psp, Gradients.psp, Patterns.psp, Styles.psp, Swatches.psp, ToolPresets.pspUsers/[user name]/AppData/Roaming/Adobe/Adobe Photoshop CS5/Adobe Photoshop CS5 Settings/Presets
Filters and EffectsAdobe Effect CS5 Prefs, Adobe Filter Gallery CS5 Prefs, Adobe Lens Blur CS5 Prefs, Adobe Lens Correction CS5 Prefs, Adobe Liquify CS5 PrefsUsers/[user name]/AppData/Roaming/Adobe/Plugins/[effect or filter name]/Photoshop
General settingsAdobe Photoshop CS5 Prefs.psp (32-bit version)(X64) CS5 Prefs.psp (64-bit version)Users/[user  name]/AppData/Roaming/Adobe/Adobe Photoshop CS5/Adobe Photoshop CS5 Settings
Saved Presets[User defined]Users/[user name]/AppData/Roaming/Adobe/Adobe Photoshop CS5/Presets/[feature name]
Workspaces[User Defined][Workspaces that have been modified}Users/[user name]/AppData/Roaming/Adobe/Adobe Photoshop CS5/Adobe Photoshop CS5 Settings/WorkspacesUsers/[user name]/AppData/Roaming/Adobe/Adobe Photoshop CS5/Adobe Photoshop CS5 Settings/Workspaces (Modified)

You can also find these by searching using *.psp file

Armed with this info I was able to get most of my setting/ preferences back for both these programs as I could read the disc that would not boot in file manager so the various setting could be copy and replaced.

Always rename the original preference files before replacing it with your preferences that way if they are corrupt then you can go back to that file. I usually use .old as the file extension.

Here is one really useful but useless bit of information that I thought might solve my issue was that Window 7 can be re installed on top of itself, but only if Window 7 is running. (smile)

The other thing that is well worth doing is backing up your Lightroom catalogue, its file name is:  Catalog.lrcat. I now make sure that I back this up weekly and I would strongly advise that these backups are on a different drive to your Lightroom installation, a stand alone hard drive is well worth the investment for this purpose. Keeping them separate avoids losing your catalog and your backups at the same time.

I also now store a copy of my catalog off site.

The other important files that are worth making a backup copy of are paper profiles; on a Windows based machine these are located here:

C: Windows, System32, Spool, Drivers, Color

Well worth getting those backup too.


Canon 5D Mark III thoughts

I have had a number of photographers contact me recently asking my thoughts on my recent upgrade to the Canon 5D Mark III.

So it prompted me to stop and think what I thought about the camera.

I had previously said a number of times that I could not see any need to upgrade to the 5D Mark III, for my type of photography (Working with models in the studio and on location) the MkII did its job well enough and produced good images.

However my main issue with the MkII was the focusing. It performed well most of the time but in low light it did struggle especially if you had the modelling light turned off; on the studio lights it was almost impossible to get a focus. You always had to move to move your focus point back to the central focus point to get any form of focus in those conditions. But I knew about it and worked on the central focus point when working in those lighting situations.

However this year I had started to be a little unhappy about the number images that were not as sharp as I would have liked and as I mentioned in a previous blog post  I took the decision to change a couple of my lens from zooms to prime lens. I also had the opportunity to handle to MkIII in anger a couple of time and was impressed with the new 61-point focusing system that it now had.  So the decision was made to change when Canon had the offer of a battery grip included with the camera.

The first impression when you look at the camera is not much has changed, however the body shape has changes slightly and for me the camera fits slight better into my hand (I have big hands so a plus for me) Most of the key specification have been upgraded over the MkII (details can be seen here) The menu system has also changed quite a bit, but if you are used to the MkII menu system then finding your way around is more or less the same. A number of function screen have been added for the Auto focus system, and a few useful custom setting have come forward in the menu hierarchy.  The rest of the Mk III shooting controls are in the use place here on the top or on the back plate to the side of the display screen. MkII owners would be familiar with most of what these buttons do. However there are three new buttons on the back; one labelled Rate, which you might use to rate your images on the back of the camera, one with a Magnify glass on it, which you use to zoom in and out of the image when pressed using one of the scroll wheels, the final one is used when shooting stills to allow you to access the Picture Style, Multiple Exposures, and in-camera HDR – In image review mode allow you to compare images side by side.

The button functions changes only really become an issue when you are shooting and you look at an image on the back of the camera. The old 5D MkII way of doing this is so in grained that you automatically go to the button which use to do it and then wonder why you are not zooming in. To zoom in on the 5D Mark III takes a different button selection and the use of the small scroll wheel on the front to the camera. You now need to bring up the picture as the MkII and then hit the magnifying button and then using the scroll wheel on the front to zoom in and out. This for me has been the main change when actually using the camera. The other is the focusing which is vastly improved over the MKII and is a really winner for me. You can select any of the focus points and they will focus on your aiming point in the low light condition that the MkII would not even pick up an edge.

So having now used it on two studio shoots, and outside for some landscape work what do I think of it, was upgrade worth it?

Portrait Photography - Portrait Photographer - carla in red hat
Richard Spurdens Photography – Carla in red hat
Fashion Photography - Fashion Photographer - Stripes dress
Richard Spurdens Photography – Stripes Dress
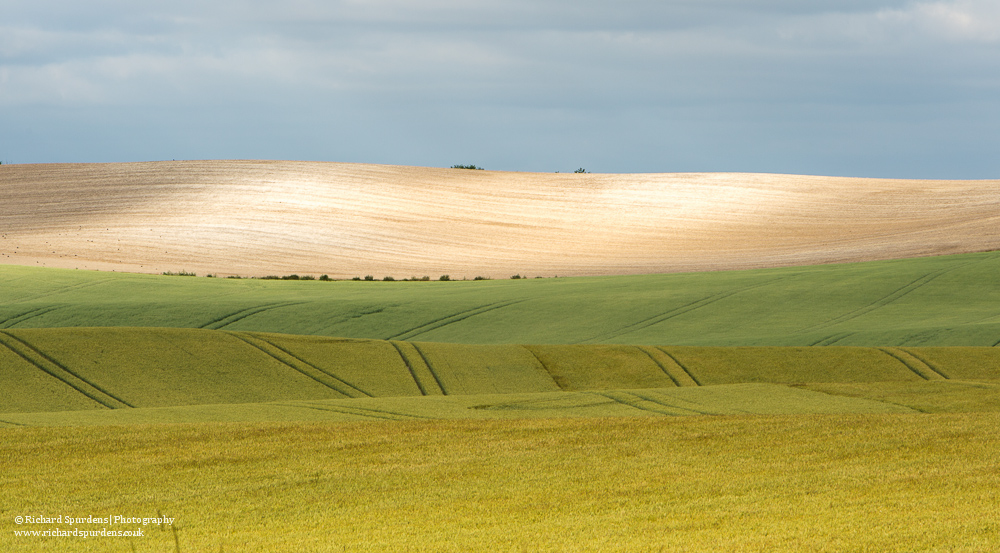
Landscape Photograher - Landscape Photography - rolling downs
Richard Spurdens Photography – Rolling downs
Landscape Photographer - Landscape Photography - overden moor windfarm
Richard Spurdens Photography – Overden moor wind farm 1

For me the answer is a firm yes: the new way of zooming into and out of images will eventually become second nature, but of me the 61 point focusing really does make it better than the MkII.

Save


The Sigma 35mm F1.4

A recent addition to my lens collection is the Sigma 35mm f/1.4 DG HSM wide –angle lens.

Now I have to point out that I am not a lens snob, when I first purchased a Canon digital camera body my first lens purchase was a Sigma and it was pin sharp and worked well.

Over the years I have moved on to the more expensive and supposedly better canon L lens. However recently when working in low natural light I have been disappointed with the performance from some of my lenses.  Now I suppose the main reason that I have kept with the Canon brand, is that the top names tend to have the top lenses. Read any magazine review and the branded lens always seem to come out on top. Performance wise and of course cost wise too.

So with the magazines doing the testing and providing the comparisons, it is almost the simple choice to just get the lens which has the brand name. Of course, there is always the possibility of a disappointment which can be expensive too –  let us not forget that Canon et al advertise in these magazines. But generally, staying with the big camera brands is a decision that can be made with confidence.

However as I said above with the type of imagery I shoot I felt that certain lenses were not giving me what I was expecting in terms of sharpness and when I’m paying for a model and using a one off location, I didn’t really want to have as poor a keep rate as I was getting from my current lens setup. I also wanted to move more to prime lenses as they tend to be less heavy than a zoom.

So I felt it was time to do some research and see what was out there that might be worth investing in – and I started to look at the Sigma 35mm. A search of the web provided some good reviews and visiting various people’s blogs gave some good and useful information too.

A good place to start is DPREVIEW which always seem to give good factual reviews. They gave the lens a rating of 89% and the following headline conclusion:

‘The Sigma 35mm F1.4 DG HSM is a truly excellent lens that performs as well in the field as its superb lab test results suggest. With fast silent focusing and solid build, its lower price makes it a compelling alternative to the camera manufacturers’ equivalents if you don’t need weather-sealing.’

So armed with that information I took the plunge and purchased this lens. The lens certainly has a very different look to the Sigma Lens I had in the past, and actually looks quite sleek and modern. It looks good and feels solid and is easy to put on and off the camera thanks to its new design. The lens hood is also easy to put on and take off too.

sigma 35mm

So now the proof of the pudding will be in how it performs in use. I have shot a couple of landscapes with it but will have to wait a short while to try it out in the studio. I will post some images as soon as I have used it.

Here are a two images shot using the above lens from a recent shoot with Carla Monaco, shot using natural light.

colour image of model carla M seated on a settee wearing a white dress
Canon EOS 5D Mk III Sigma 35mm F1.4
artistic nude photography - artistic nude photographer -
Canon EOS 5D Mk III Sigma 35mm F1.4

Save

Save

Save

Save

Save

Save

Save


Privacy Settings
We use cookies to enhance your experience while using our website. If you are using our Services via a browser you can restrict, block or remove cookies through your web browser settings. We also use content and scripts from third parties that may use tracking technologies. You can selectively provide your consent below to allow such third party embeds. For complete information about the cookies we use, data we collect and how we process them, please check our Privacy Policy
Youtube
Consent to display content from - Youtube
Vimeo
Consent to display content from - Vimeo
Google Maps
Consent to display content from - Google